Before you begin
This quickstart requires:- Basic JavaScript knowledge.
- Node.js version 16 or later with npm version 5.2 or later.
Quickstart
In this quickstart, you’ll add an Algolia search interface to some starter code. The code:- Displays and formats a search box and results
- Uses InstantSearch’s pre-built UI components (widgets) to filter results
1
Add starter code
To generate some starter code, use the This command creates a folder structure on your machine:
create-instantsearch-app tool.
It provides the index data, all necessary code, and predefined credentials (application ID and API key).In a terminal, paste:2
Add the search UI
-
In
index.html, remove the<header>, and replace<div class="container">with:HTML -
Open
src/app.cssand replace its content with:CSS
3
Run the app
-
In your terminal, type:
-
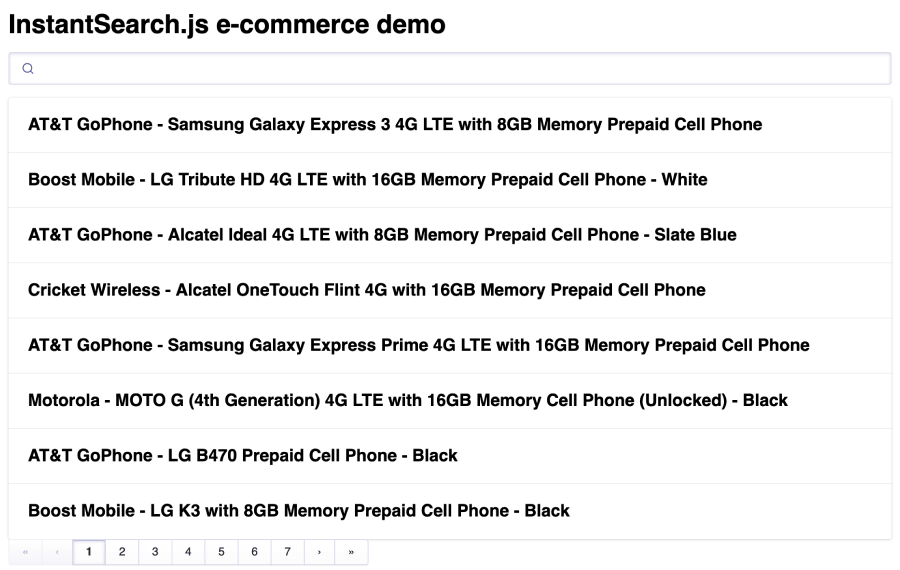
Open your browser and go to http://localhost:3000. The app displays the search box, results, and pagination components.

4
Add filters and settings
-
Open
index.htmland update it to:HTML -
Open
src/app.js, and add widgets to these placeholders:JavaScript
5
Create a two-column layout
The widgets come with a predefined style but you can customize it.
-
Open
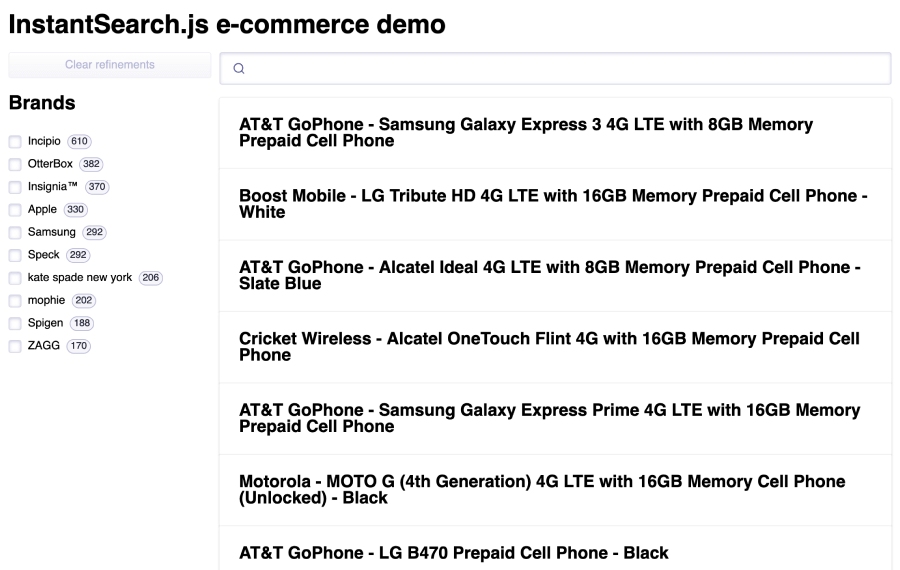
src/app.cssand update it to the following to apply a two-column layout:CSS -
In your browser, after a page refresh, the layout includes a set of brand filters.

6
Format search results
Open the
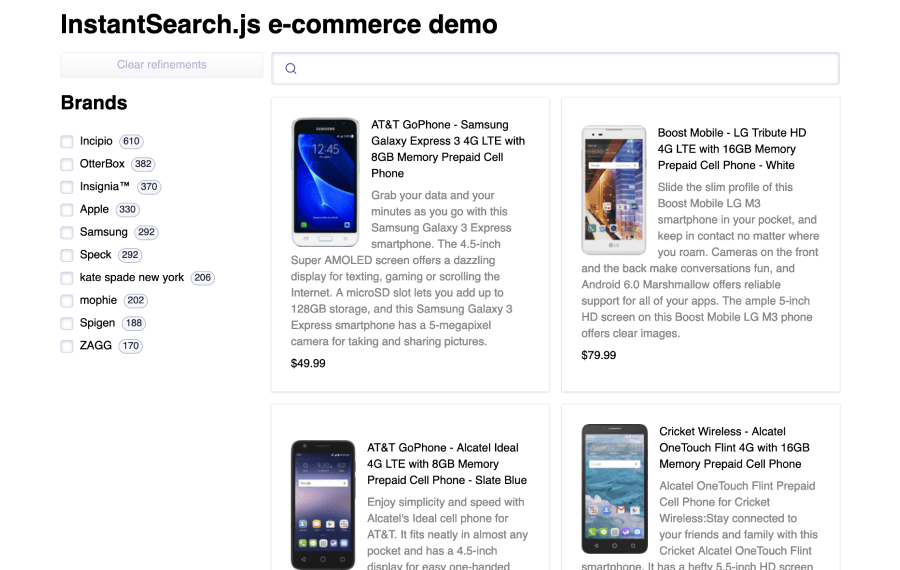
src/app.js and replace the content of the hits widget with:JavaScript
7
Refine the styling
-
Open
src/app.cssand replace its content with:CSS

The widgets
This quickstart uses several InstantSearch widgets:instantsearchis the root InstantSearch.js component. You must wrap all other widgets inside this component.searchBoxdisplays a search box for users to type queries into.hitsdisplays the results from Algolia, based on the query.paginationadds navigation controls to browse through pages of results.clearRefinementsdisplays a button that clears the current refinements.refinementListdisplays a list of brands that users can use to filter the search.configurepasses search parameters. In this quickstart, it setshitsPerPageto 8.
Next steps
Instead of the credentials fromcreate-instantsearch-app,
use your own Algolia credentials.
You can send your own data or a sample dataset to Algolia using the JavaScript API client that comes preinstalled with create-instantsearch-app.
Then, configure the index with the JavaScript API client.
For example, to configure the sample dataset,
use the following code:
JavaScript