If you’re using Tealium to track user interactions on your website or app, you can set up the Algolia Insights connector to forward click and conversion events. Algolia doesn’t provide support for the Tealium connector, including installation or troubleshooting. If you require help with this connector, refer to the Tealium documentation or contact your Tealium team directly.

Add the Algolia connector in Tealium

  1. Sign in to Tealium’s Customer Data Hub and select the account and profile you want to work in.
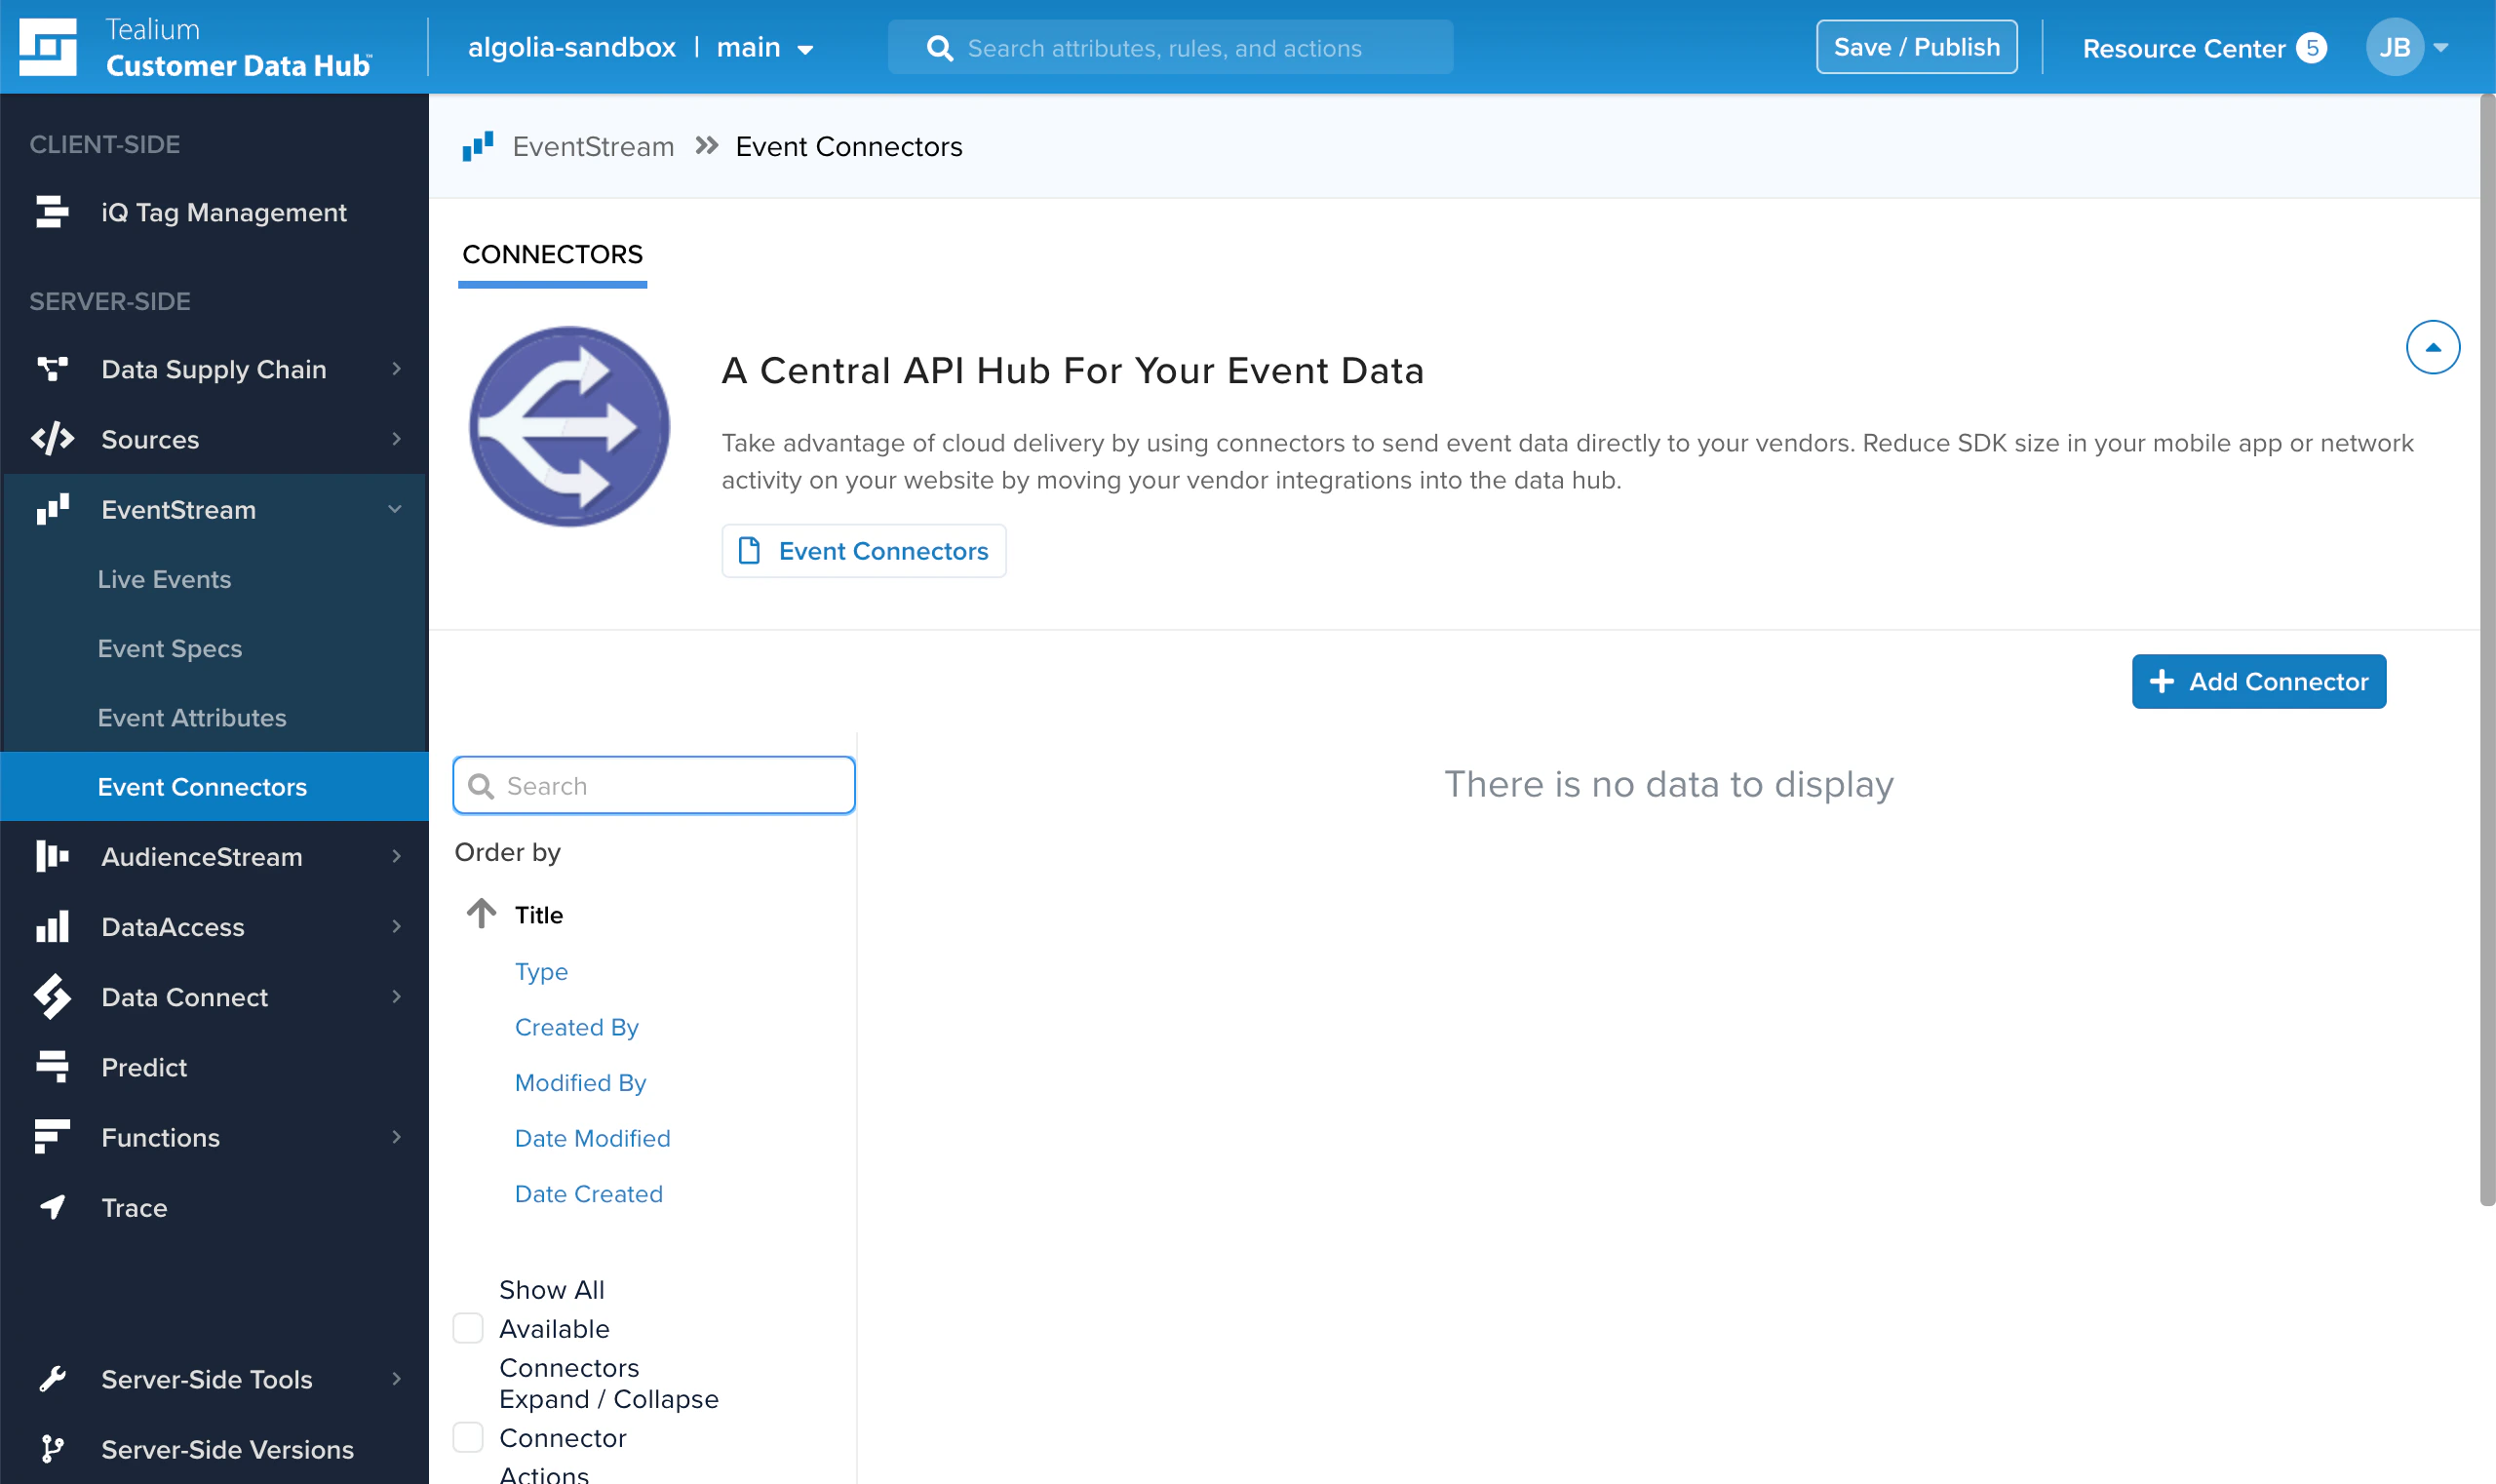
  2. On the sidebar, go to Server-Side > EventStream > Event Connectors and click Add Connector. Screenshot of the Tealium Customer Data Hub interface showing the 'Event Connectors' page with a blue 'Add Connector' button and a 'Search' field.
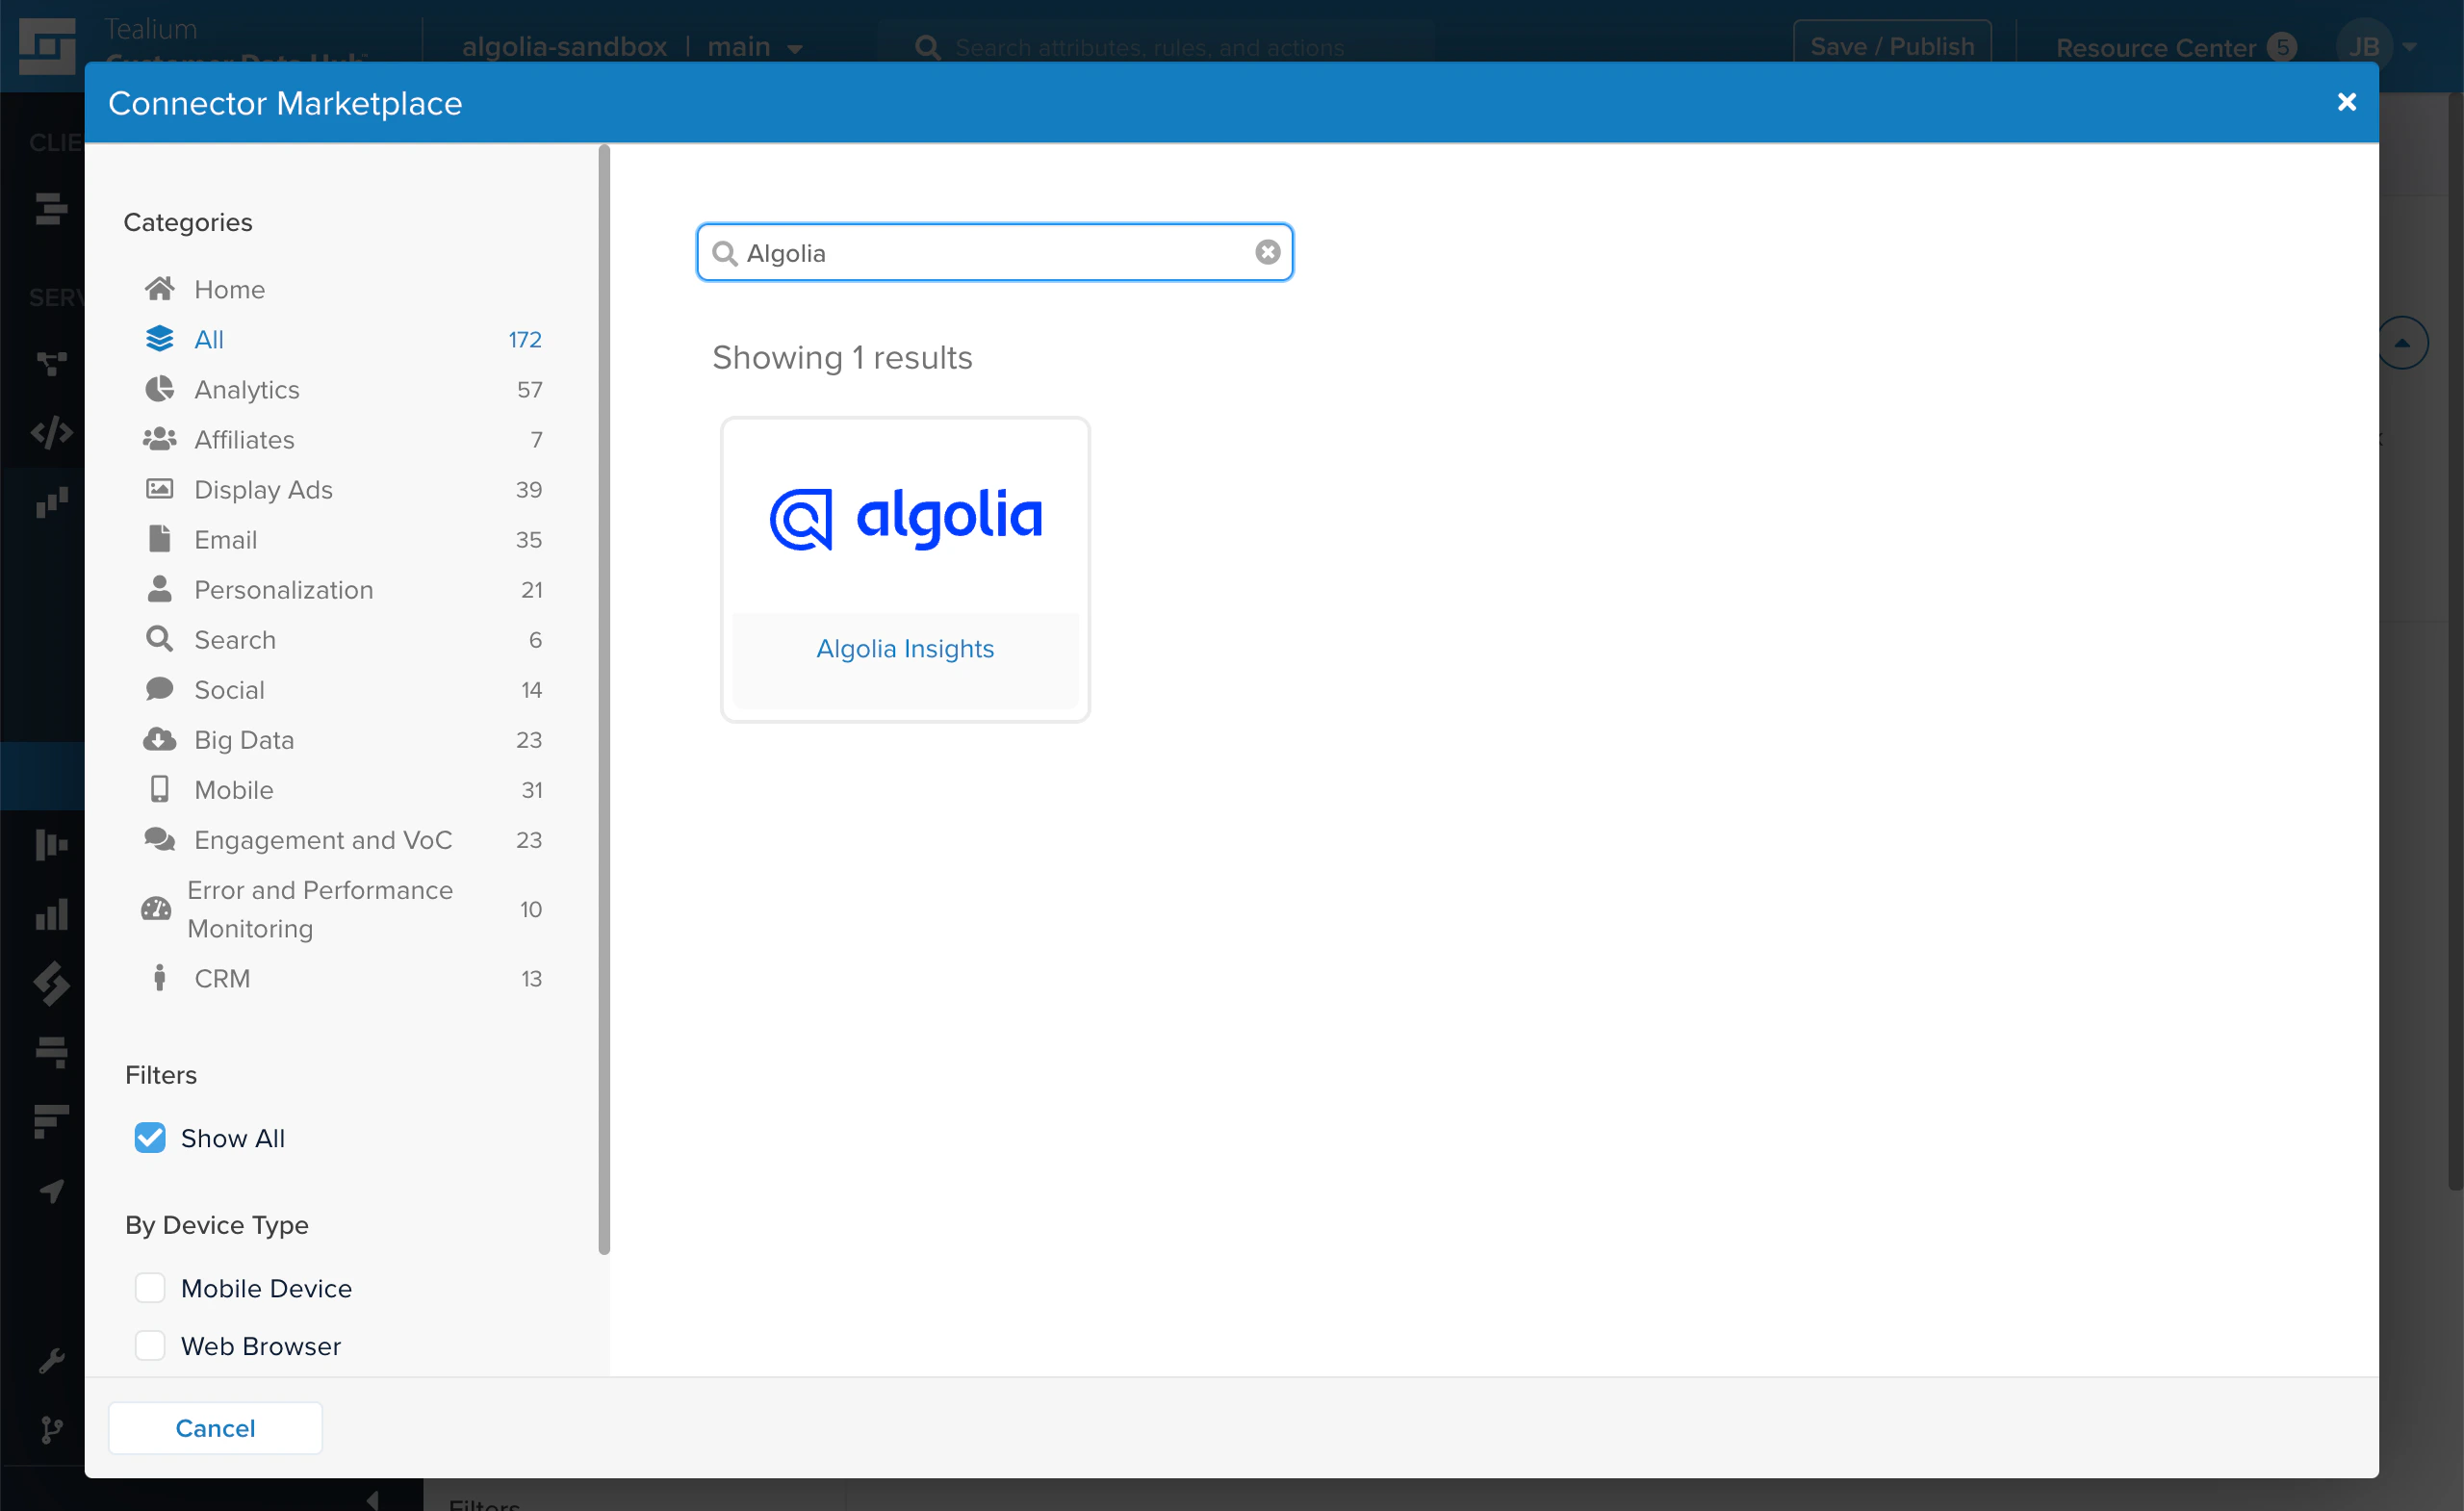
  3. In the Connector Marketplace, search for the Algolia Insights connector, select it, and click Continue. Screenshot of the 'Connector Marketplace' dialog in Tealium, showing a search for 'Algolia' with one result: the 'Algolia Insights' connector.
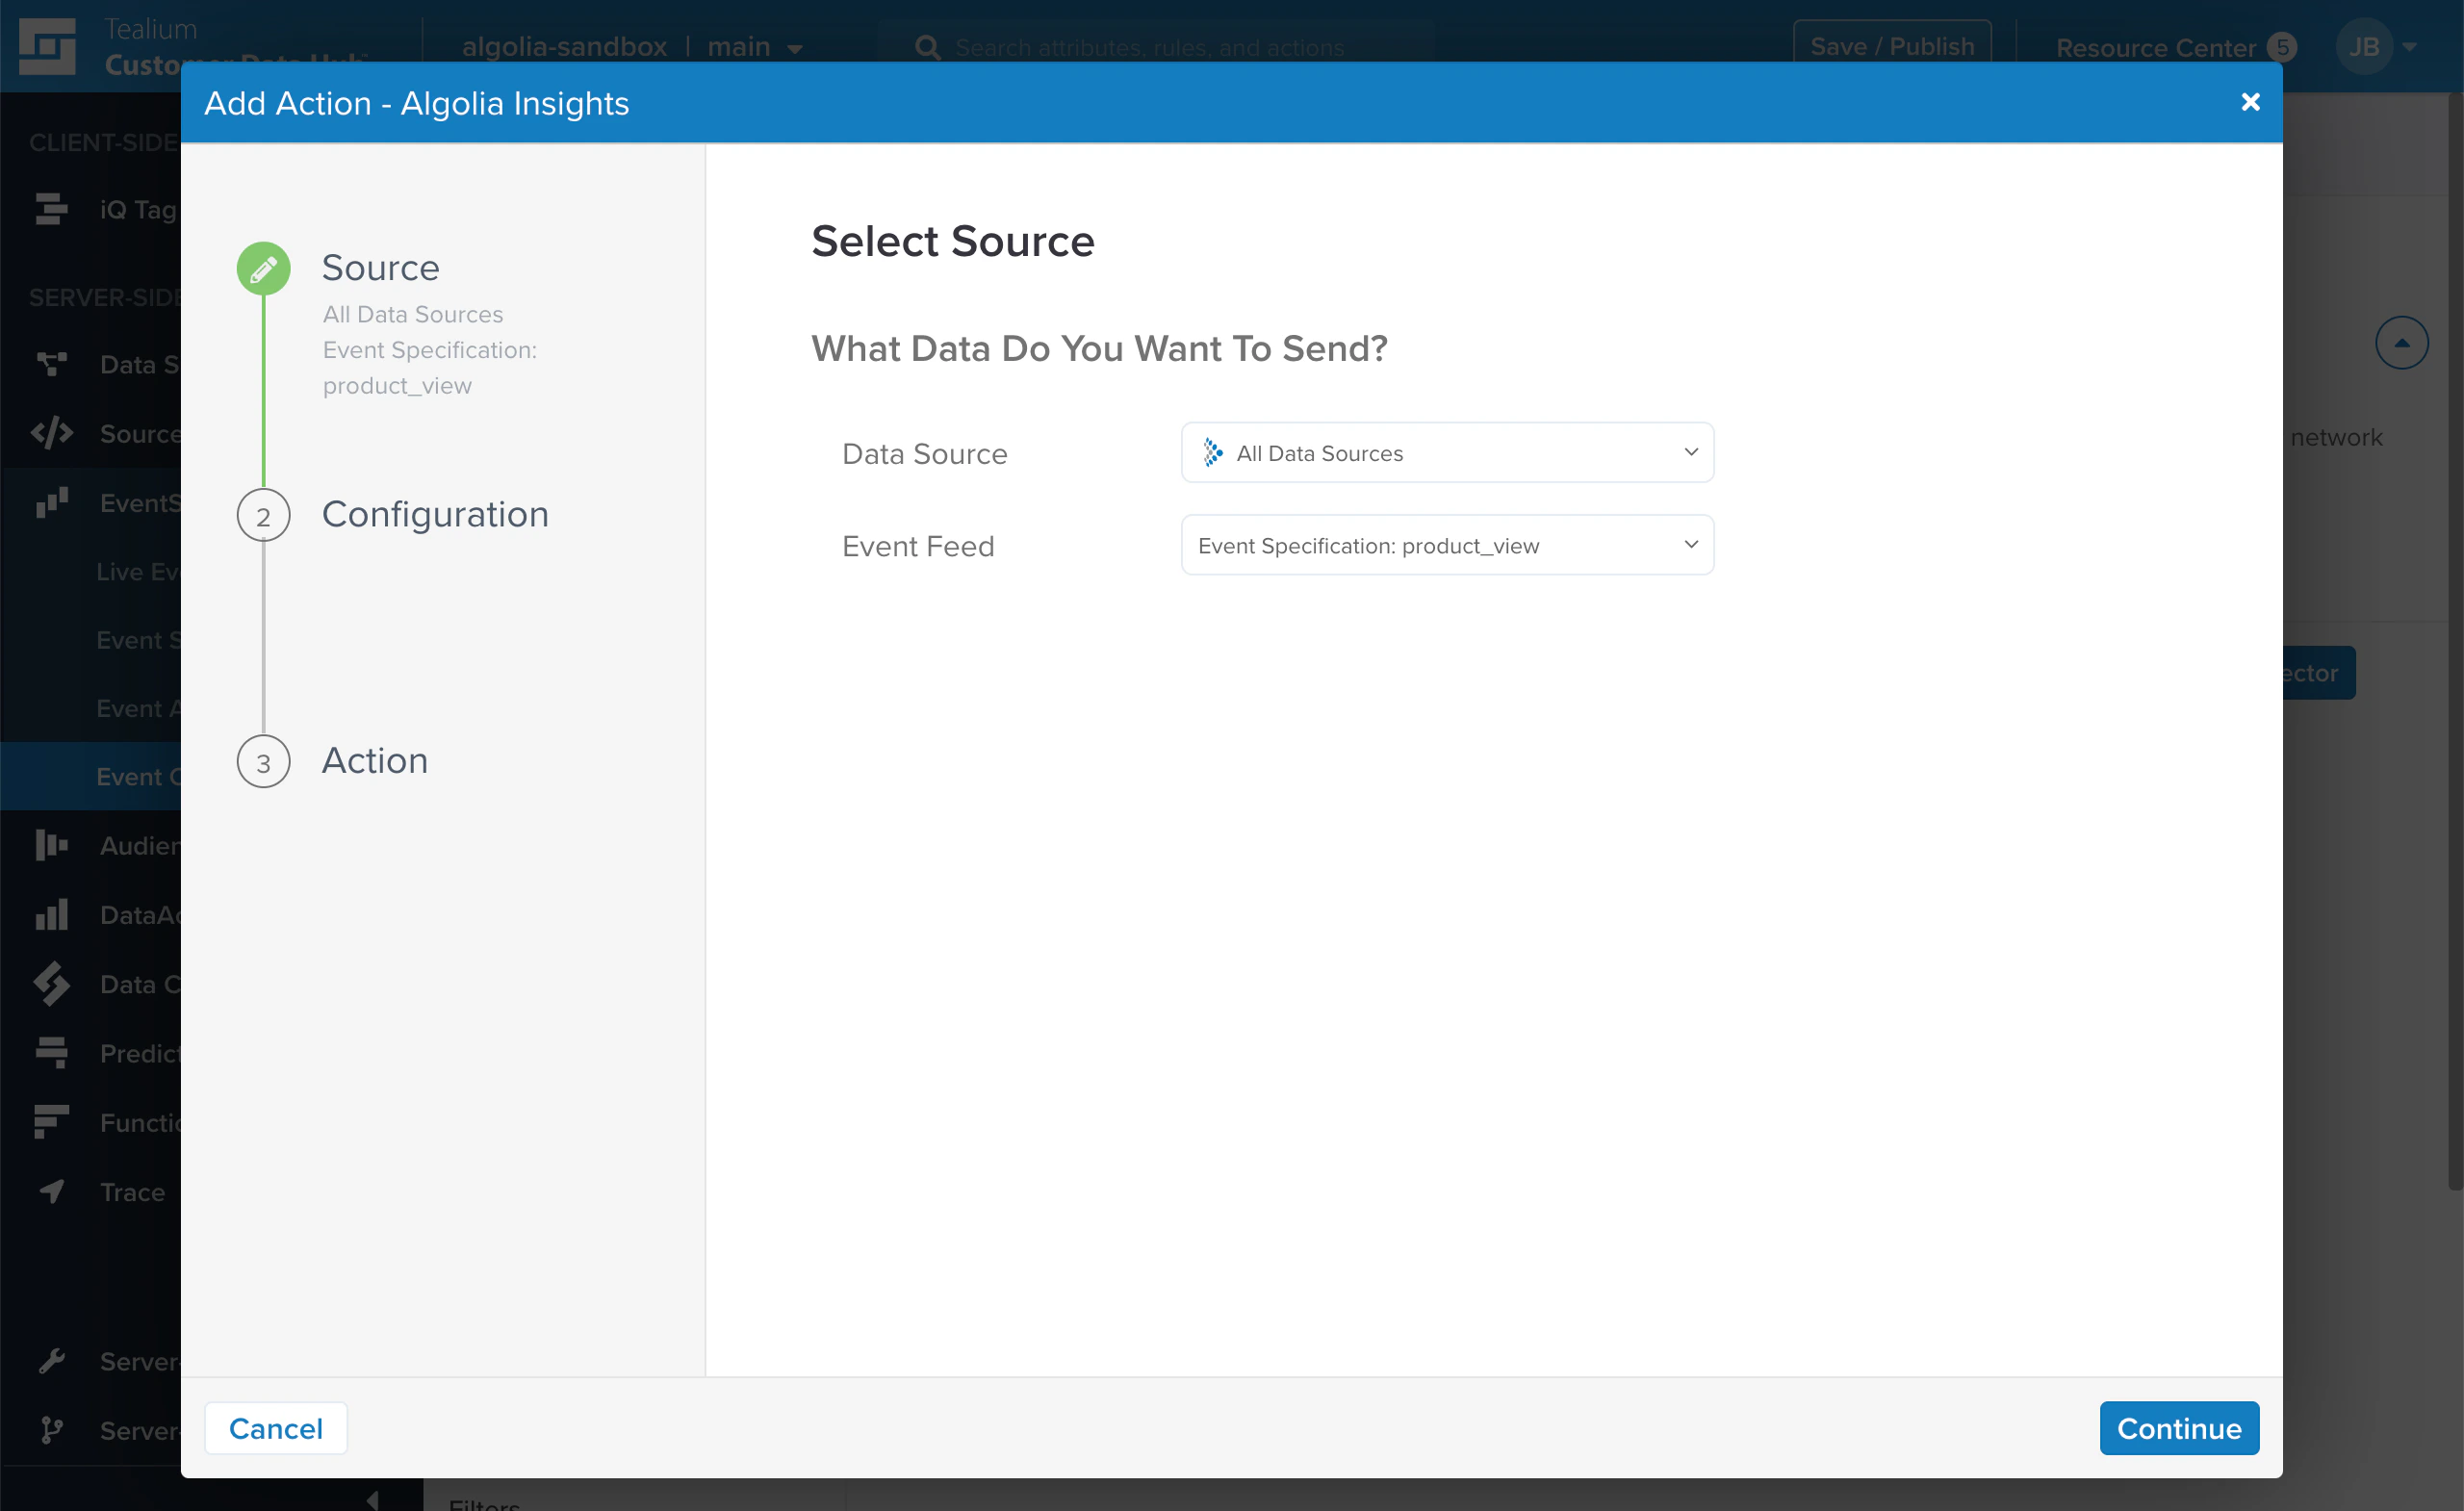
  4. In the Data Sources menu, select All Data Sources if you want to forward events from all your websites or apps to Algolia, or select individual sources to only forward events from selected sources.
  5. In the Event Feed menu, select the type of event you want to forward, such as, product_view, cart_add, or purchase.
  6. Click Continue. Screenshot of a Tealium dialog showing 'Select Source' with 'Data Source' set to 'All Data Sources' and 'Event Feed' set to a product view event.
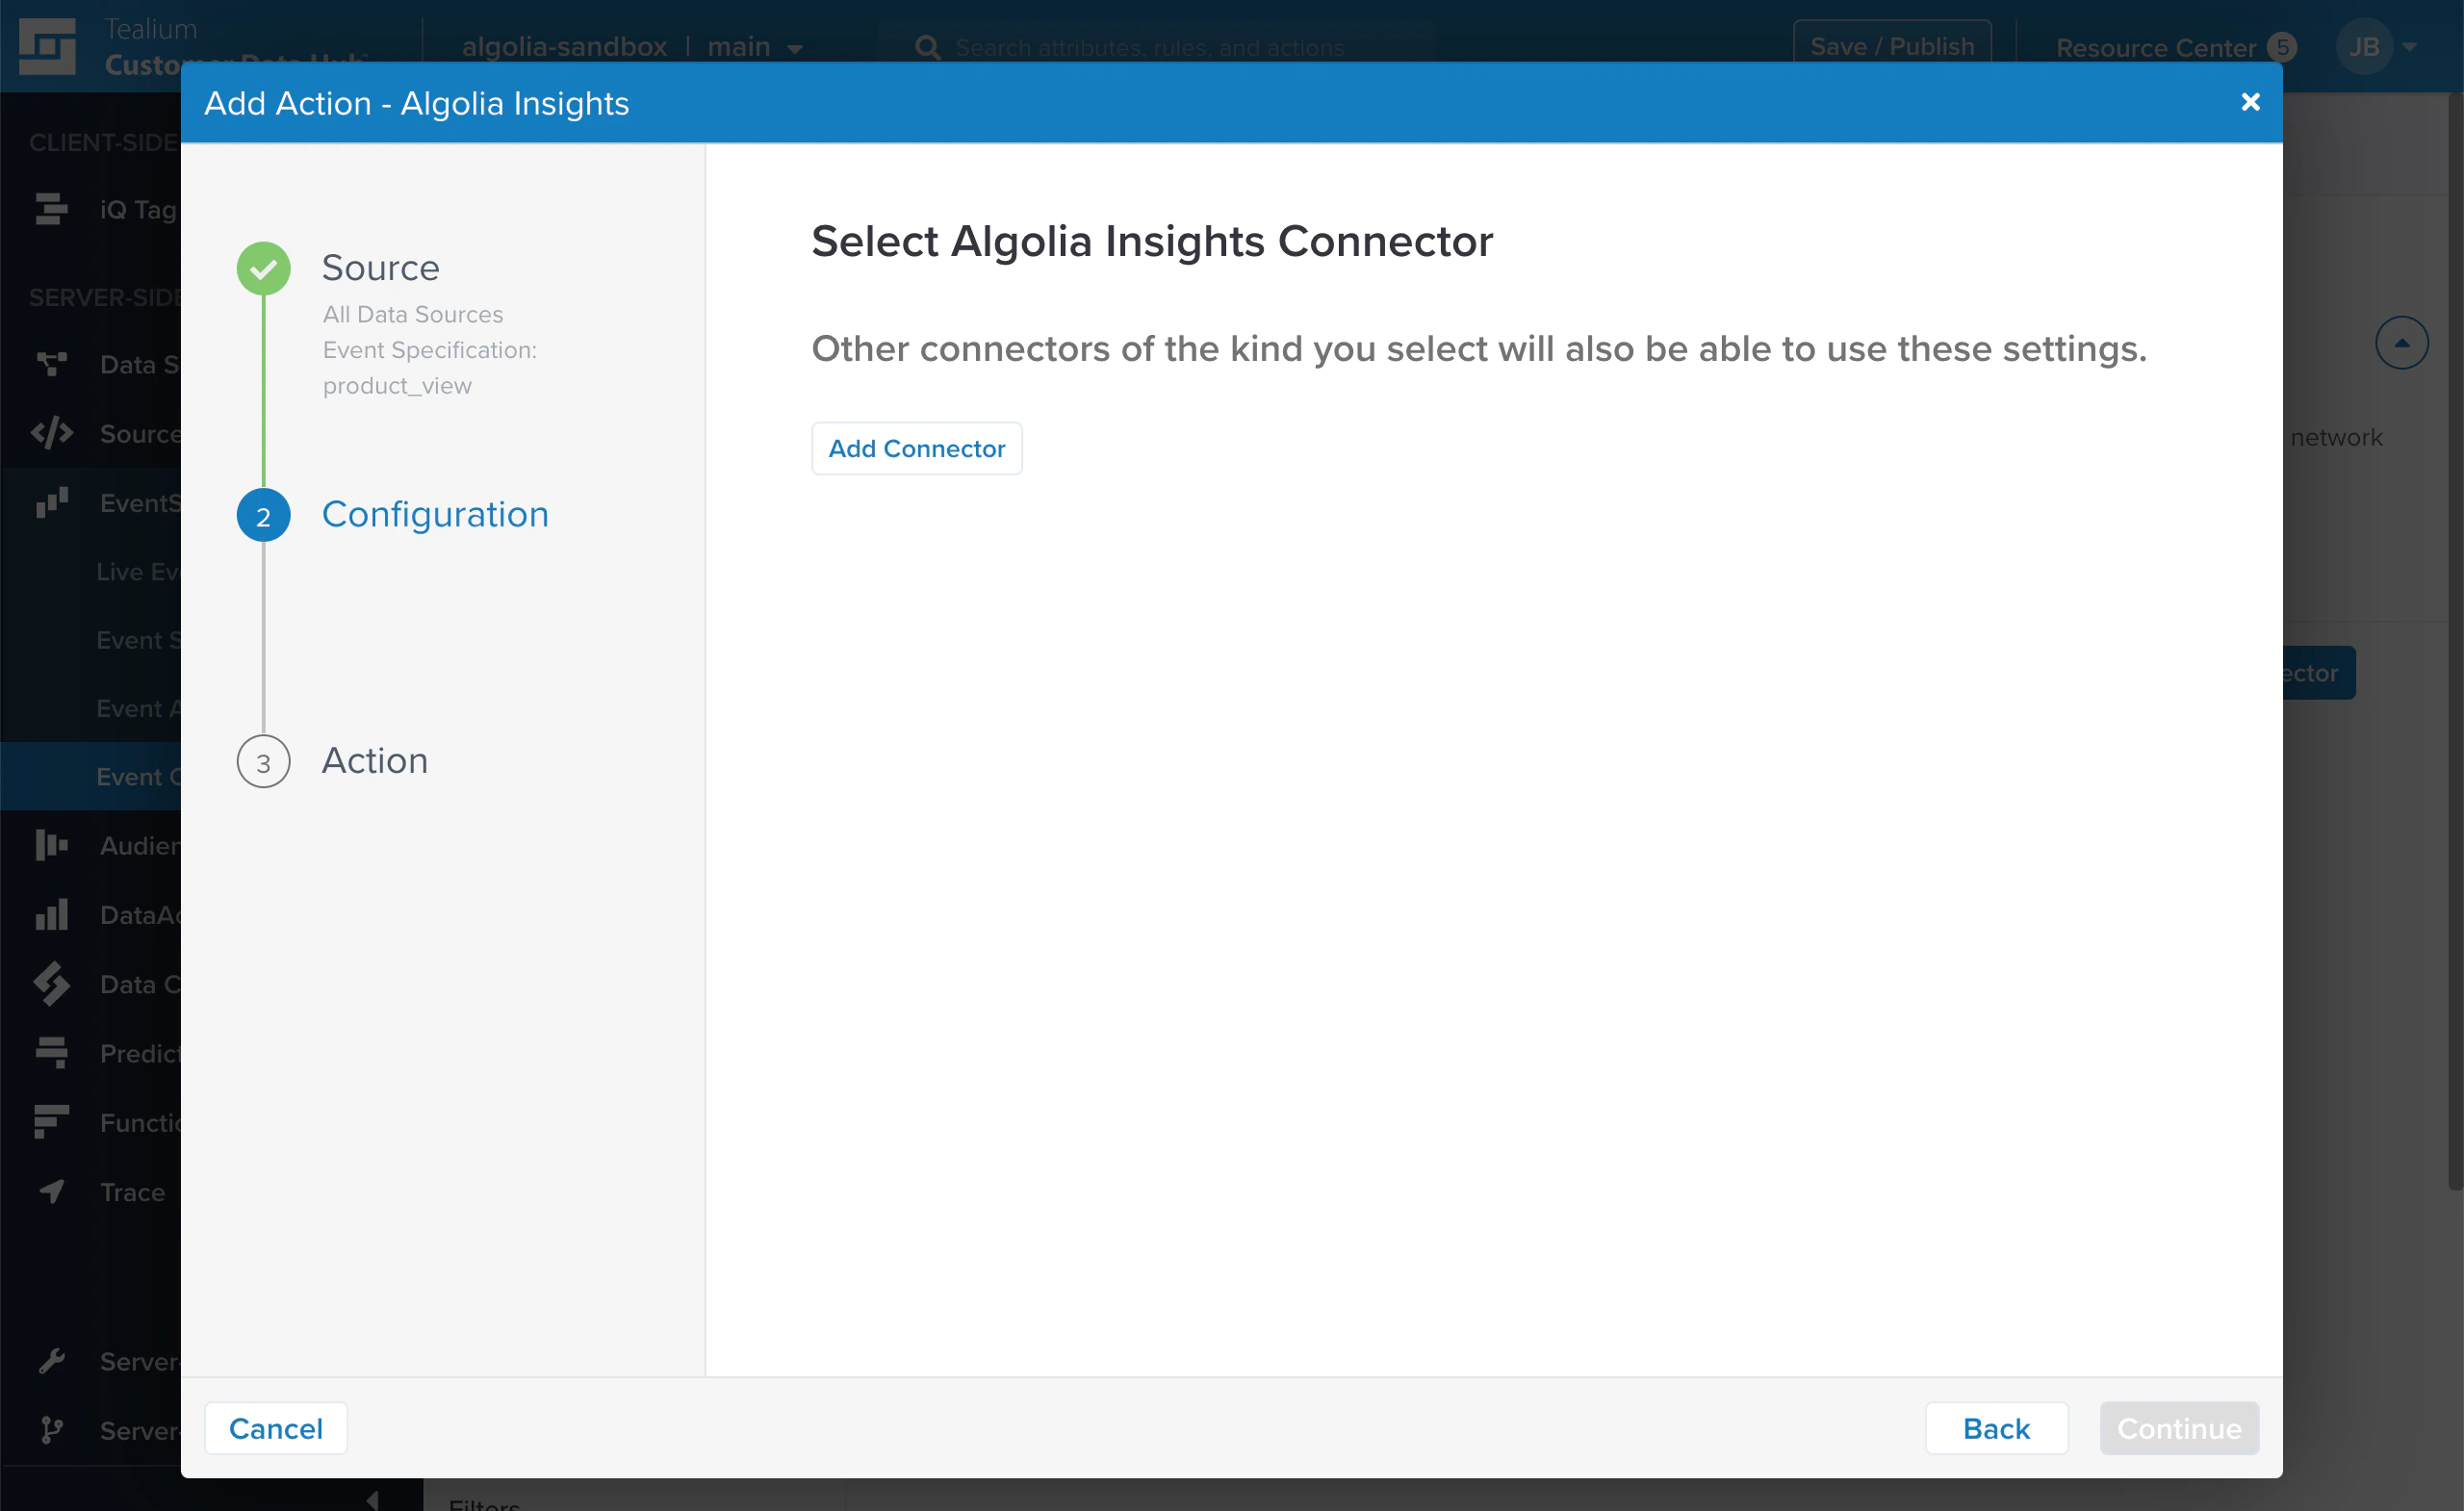
  7. Click Add Connector. Screenshot of a dialog titled 'Add Action - Algolia Insights' showing a 'Configuration' step with an 'Add Connector' button and 'Continue' at the bottom.
  8. Go to the Algolia dashboard and select your Algolia .
  9. Go to the API Keys page and copy your application ID and search API key.
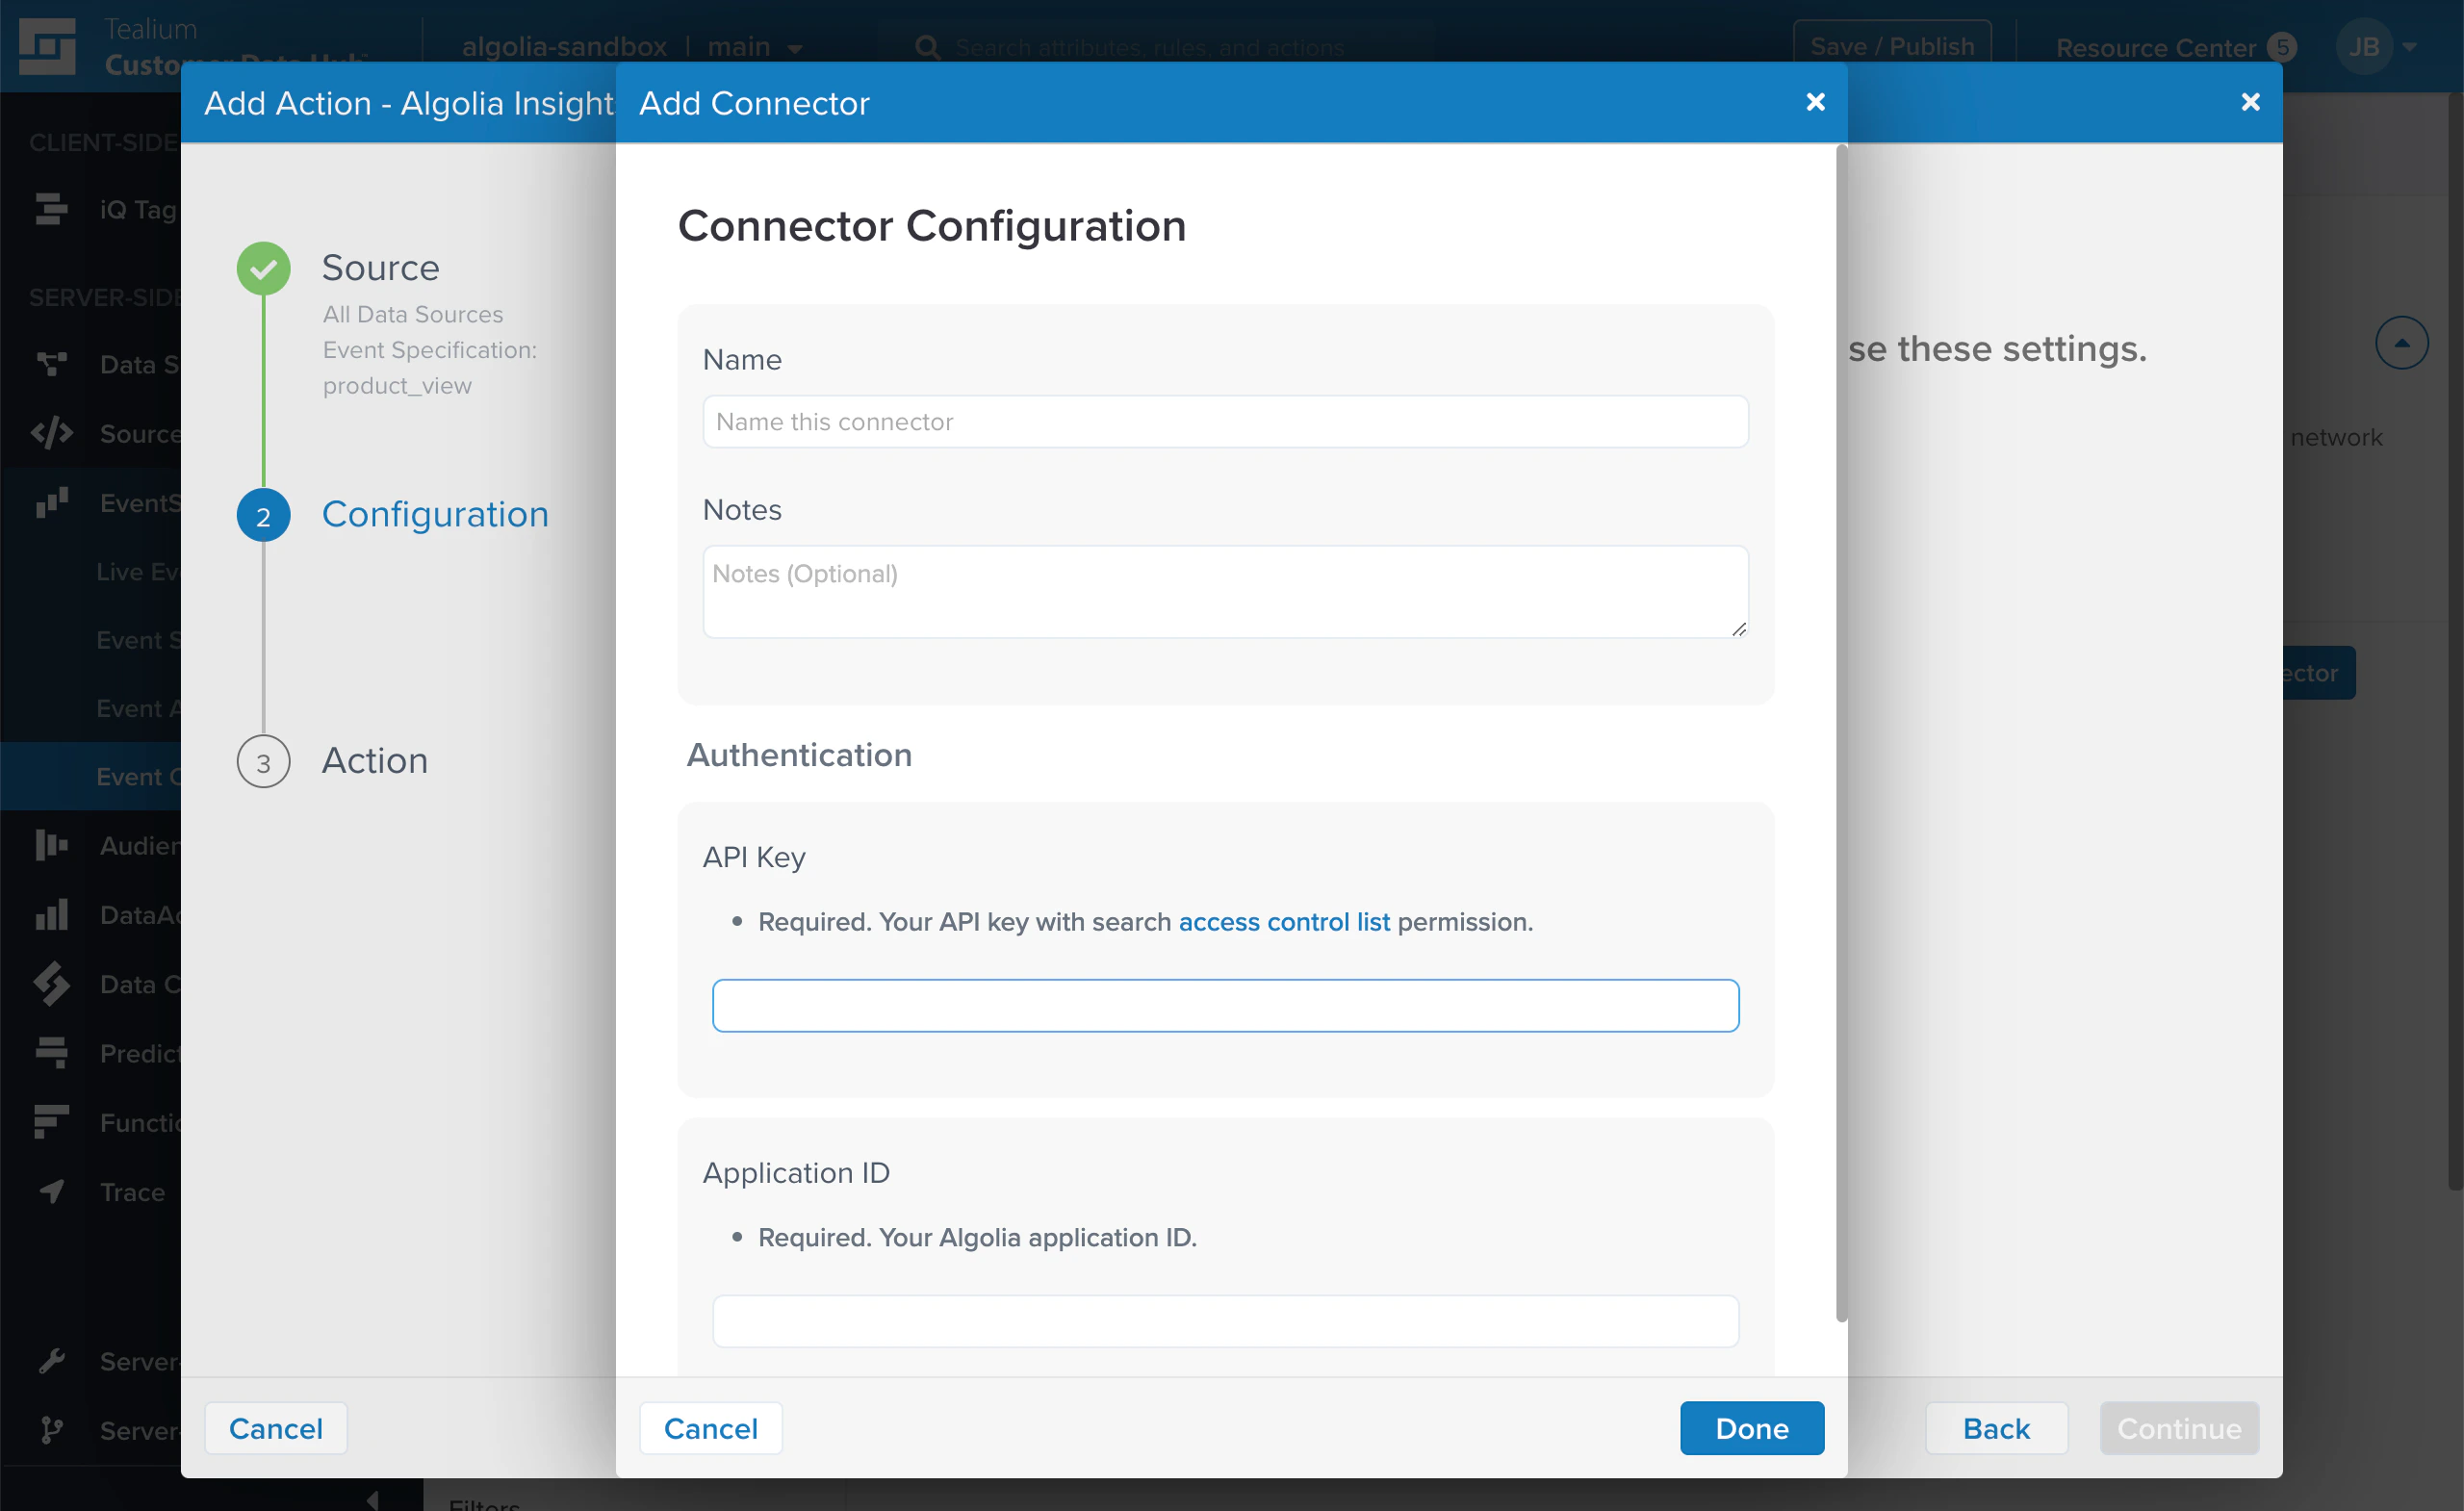
  10. In the Add Connector dialog, enter a name for this connector and optional notes that help you identify this connector. In the Authentication section, enter your Algolia application ID and search API key. Click Done. Back on the Add Action dialog, click Continue. Screenshot of a 'Connector Configuration' dialog with fields for 'Name', 'Notes', 'API Key', and 'Application ID' in a Tealium interface.
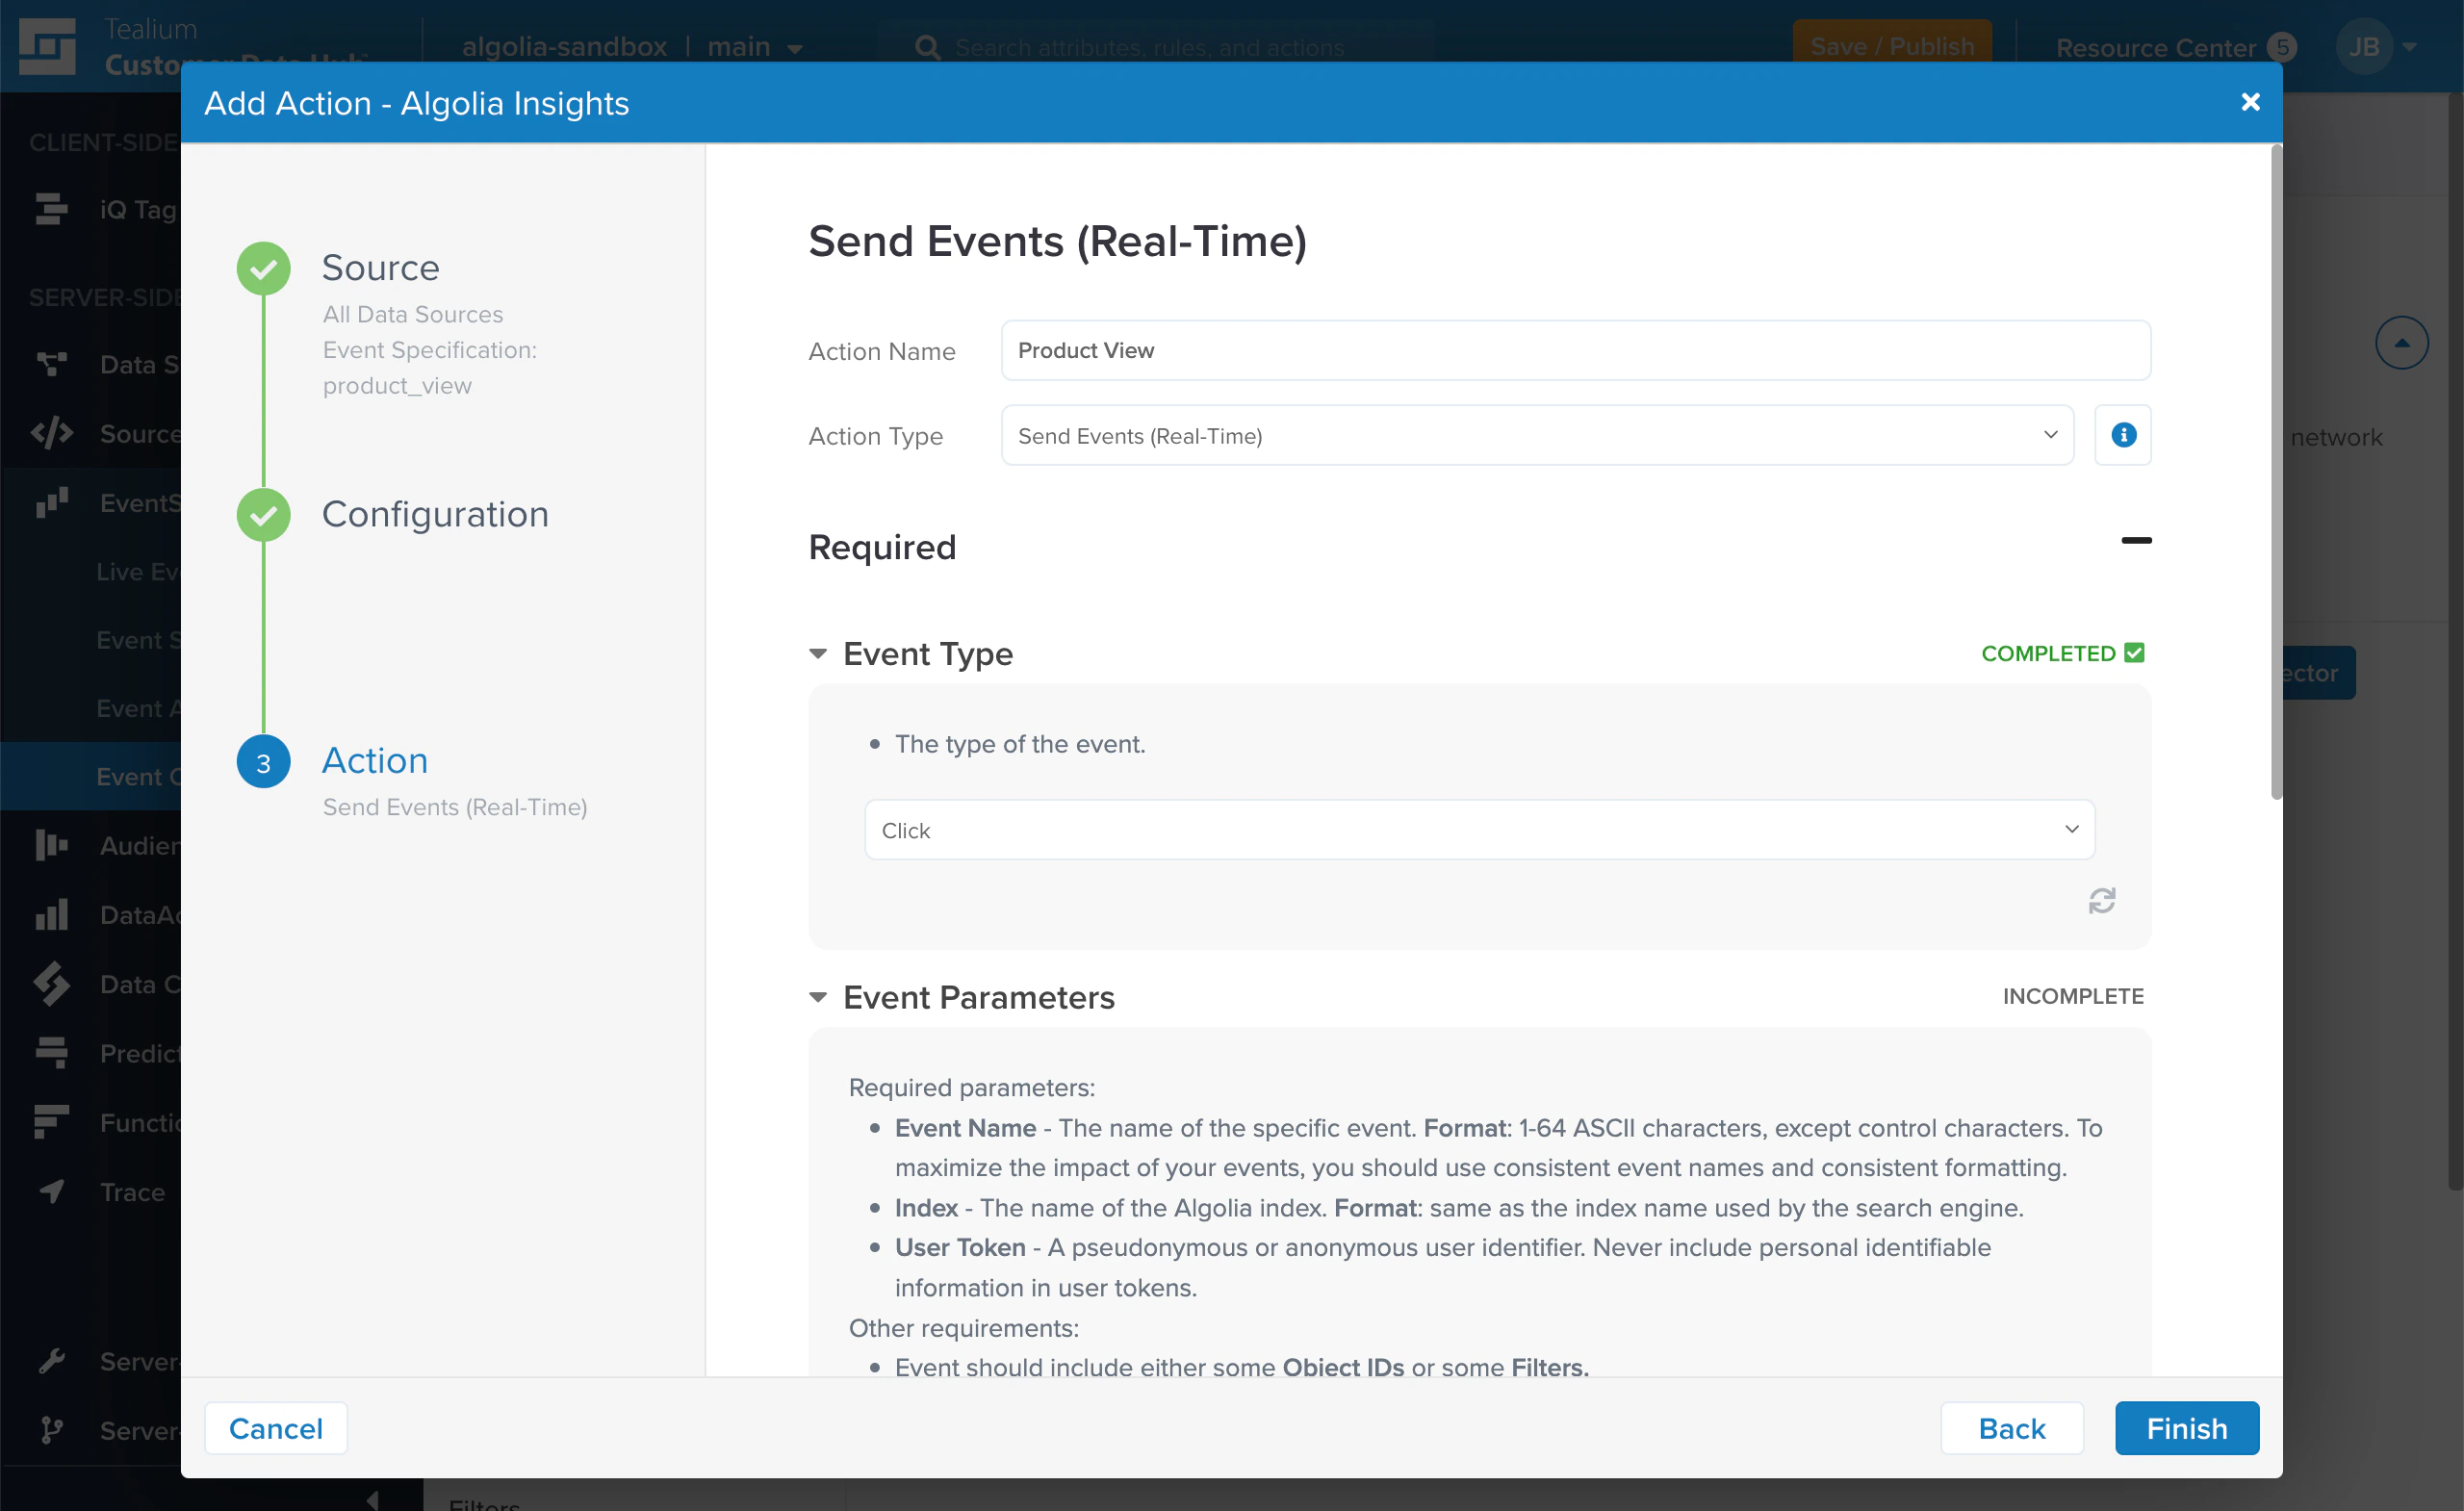
  11. Enter a name for the action, and select an action type. In most cases, you want to send events as they happen, so select Send Events (Real-Time). Select the Event Type: Click to track clicks on search results, Conversion for add-to-cart and purchase events. Screenshot of a Tealium dialog configuring 'Send Events (Real-Time)' with 'Event Type' set to 'Click'.
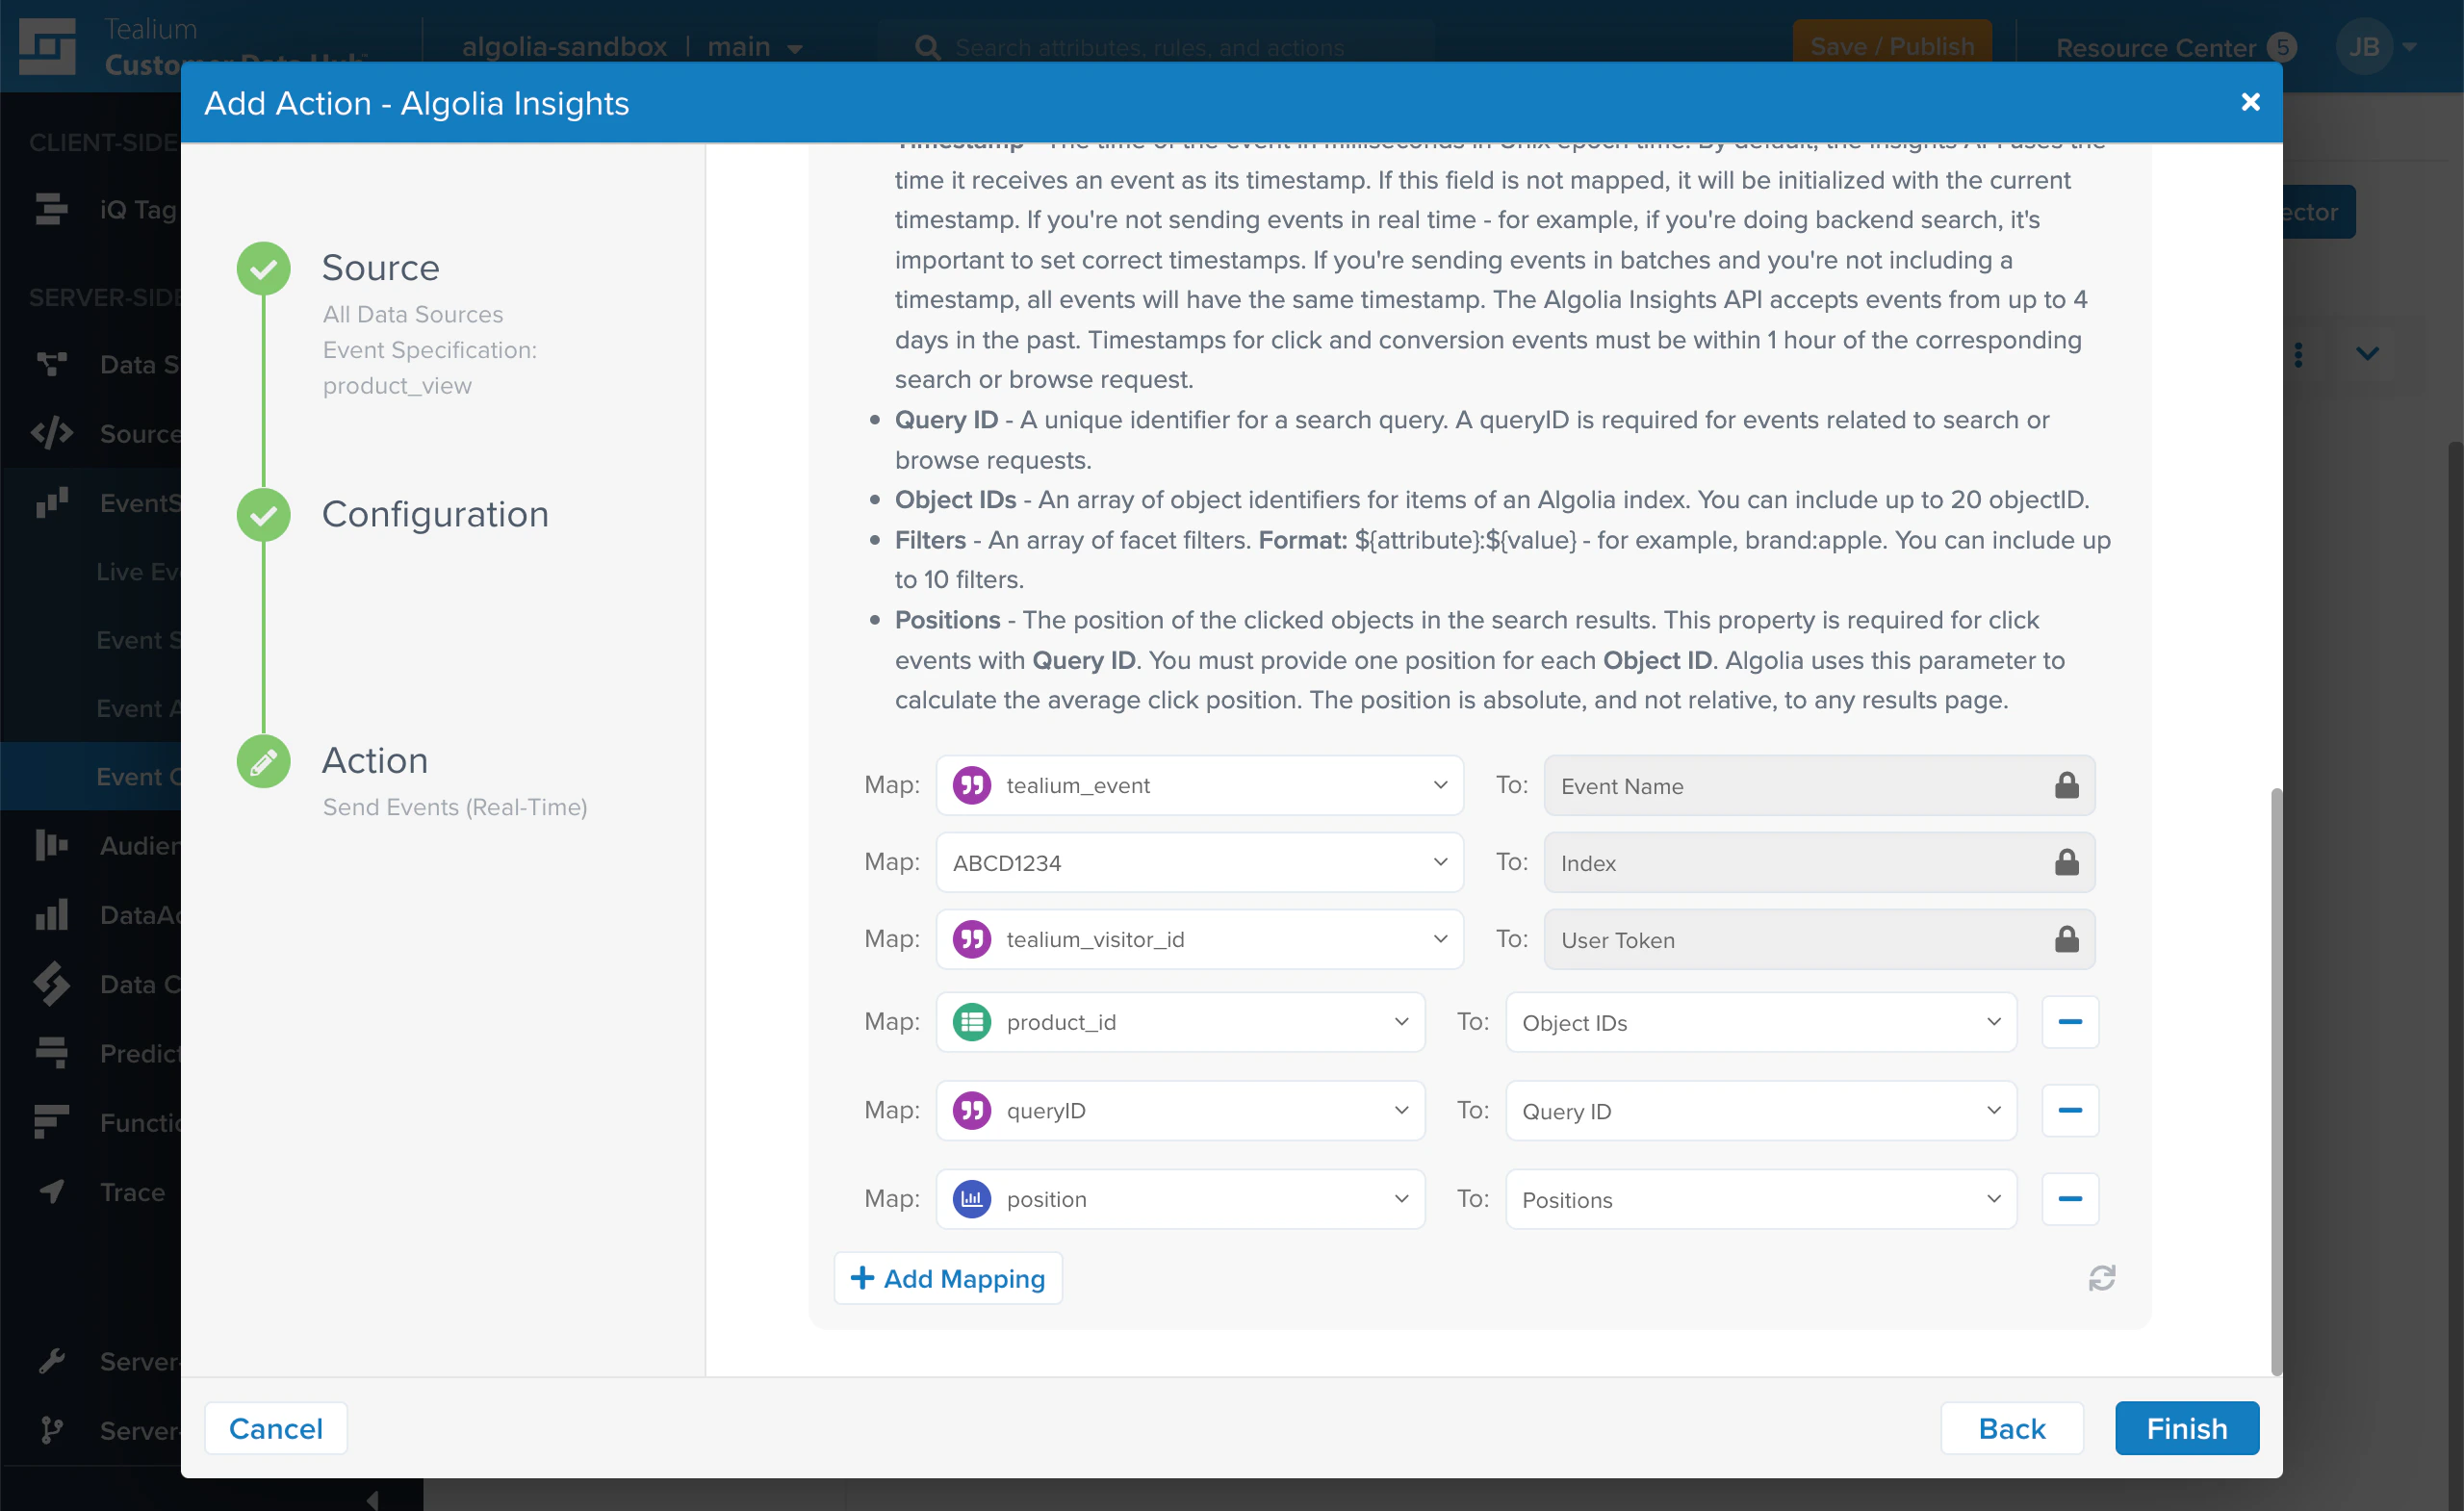
  12. Map the Tealium event parameters to their equivalent in Algolia. Screenshot of an 'Add Action - Algolia Insights' dialog showing field mappings like event name and product ID to 'Object IDs'.
  13. Repeat this process for each additional event you want to forward.
For more information about adding connectors, see the Tealium documentation.

Enable clickAnalytics

To relate click and conversion events to searches, Algolia needs a query ID. To get the queryID parameter for a search, set the clickAnalytics parameter to true:
const response = await client.searchSingleIndex({
  indexName: "ALGOLIA_INDEX_NAME",
  searchParams: {
    query: "YourSearchQuery",
    userToken: "user-1",
    clickAnalytics: true,
  },
});
const { hits, queryID } = response;
console.log(hits, queryID);

Map event parameters

Algolia needs these extra parameters that aren’t part of the Tealium event specifications:
ParameterToRequired?
tealium_eventEvent NameYes
indexIndexYes
tealium_visitor_idUser TokenYes. See Personalization
queryIDQuery IDYes (for events related to search or browse requests)
product_idObject IDsYes
positionPositionsYes (for click events related to search requests)
The next step is to validate your events.
Last modified on February 25, 2026