

Autocomplete, InstantSearch, and Recommend in the Algolia app blocks now support version 5 of the Algolia API client.
Most stores only need to switch the search client version setting to Version 5.
If you use custom storefront JavaScript, follow the version 5 upgrade guide.
Support for version 4 ends on August 14, 2026.
- Search analytics
- Revenue analytics
- A/B Testing
- NeuralSearch
- Algolia Recommend
- Personalization
- Dynamic Re-Ranking
- Query Categorization
Before you begin
Algolia AI Search & Discovery supports the default widgets provided by the app. If you’re using custom widgets, see Sending events for more information. The Algolia AI Search & Discovery app must be enabled on your theme.User token strategy
Events represent an interaction of a user with your store. Algolia relates a user profile to an event through a user token. You can choose how you want to set the user token:- With a random alphanumeric string at every page refresh
- Using cookies
userToken is set with a random alphanumeric string at every page refresh
This option doesn’t use cookies.
Because every page refresh generates a new user token,
you can’t identify user profiles across sessions.
userToken is set using cookies depending on the user’s approval
This option stores the user token in a cookie on the user’s device.
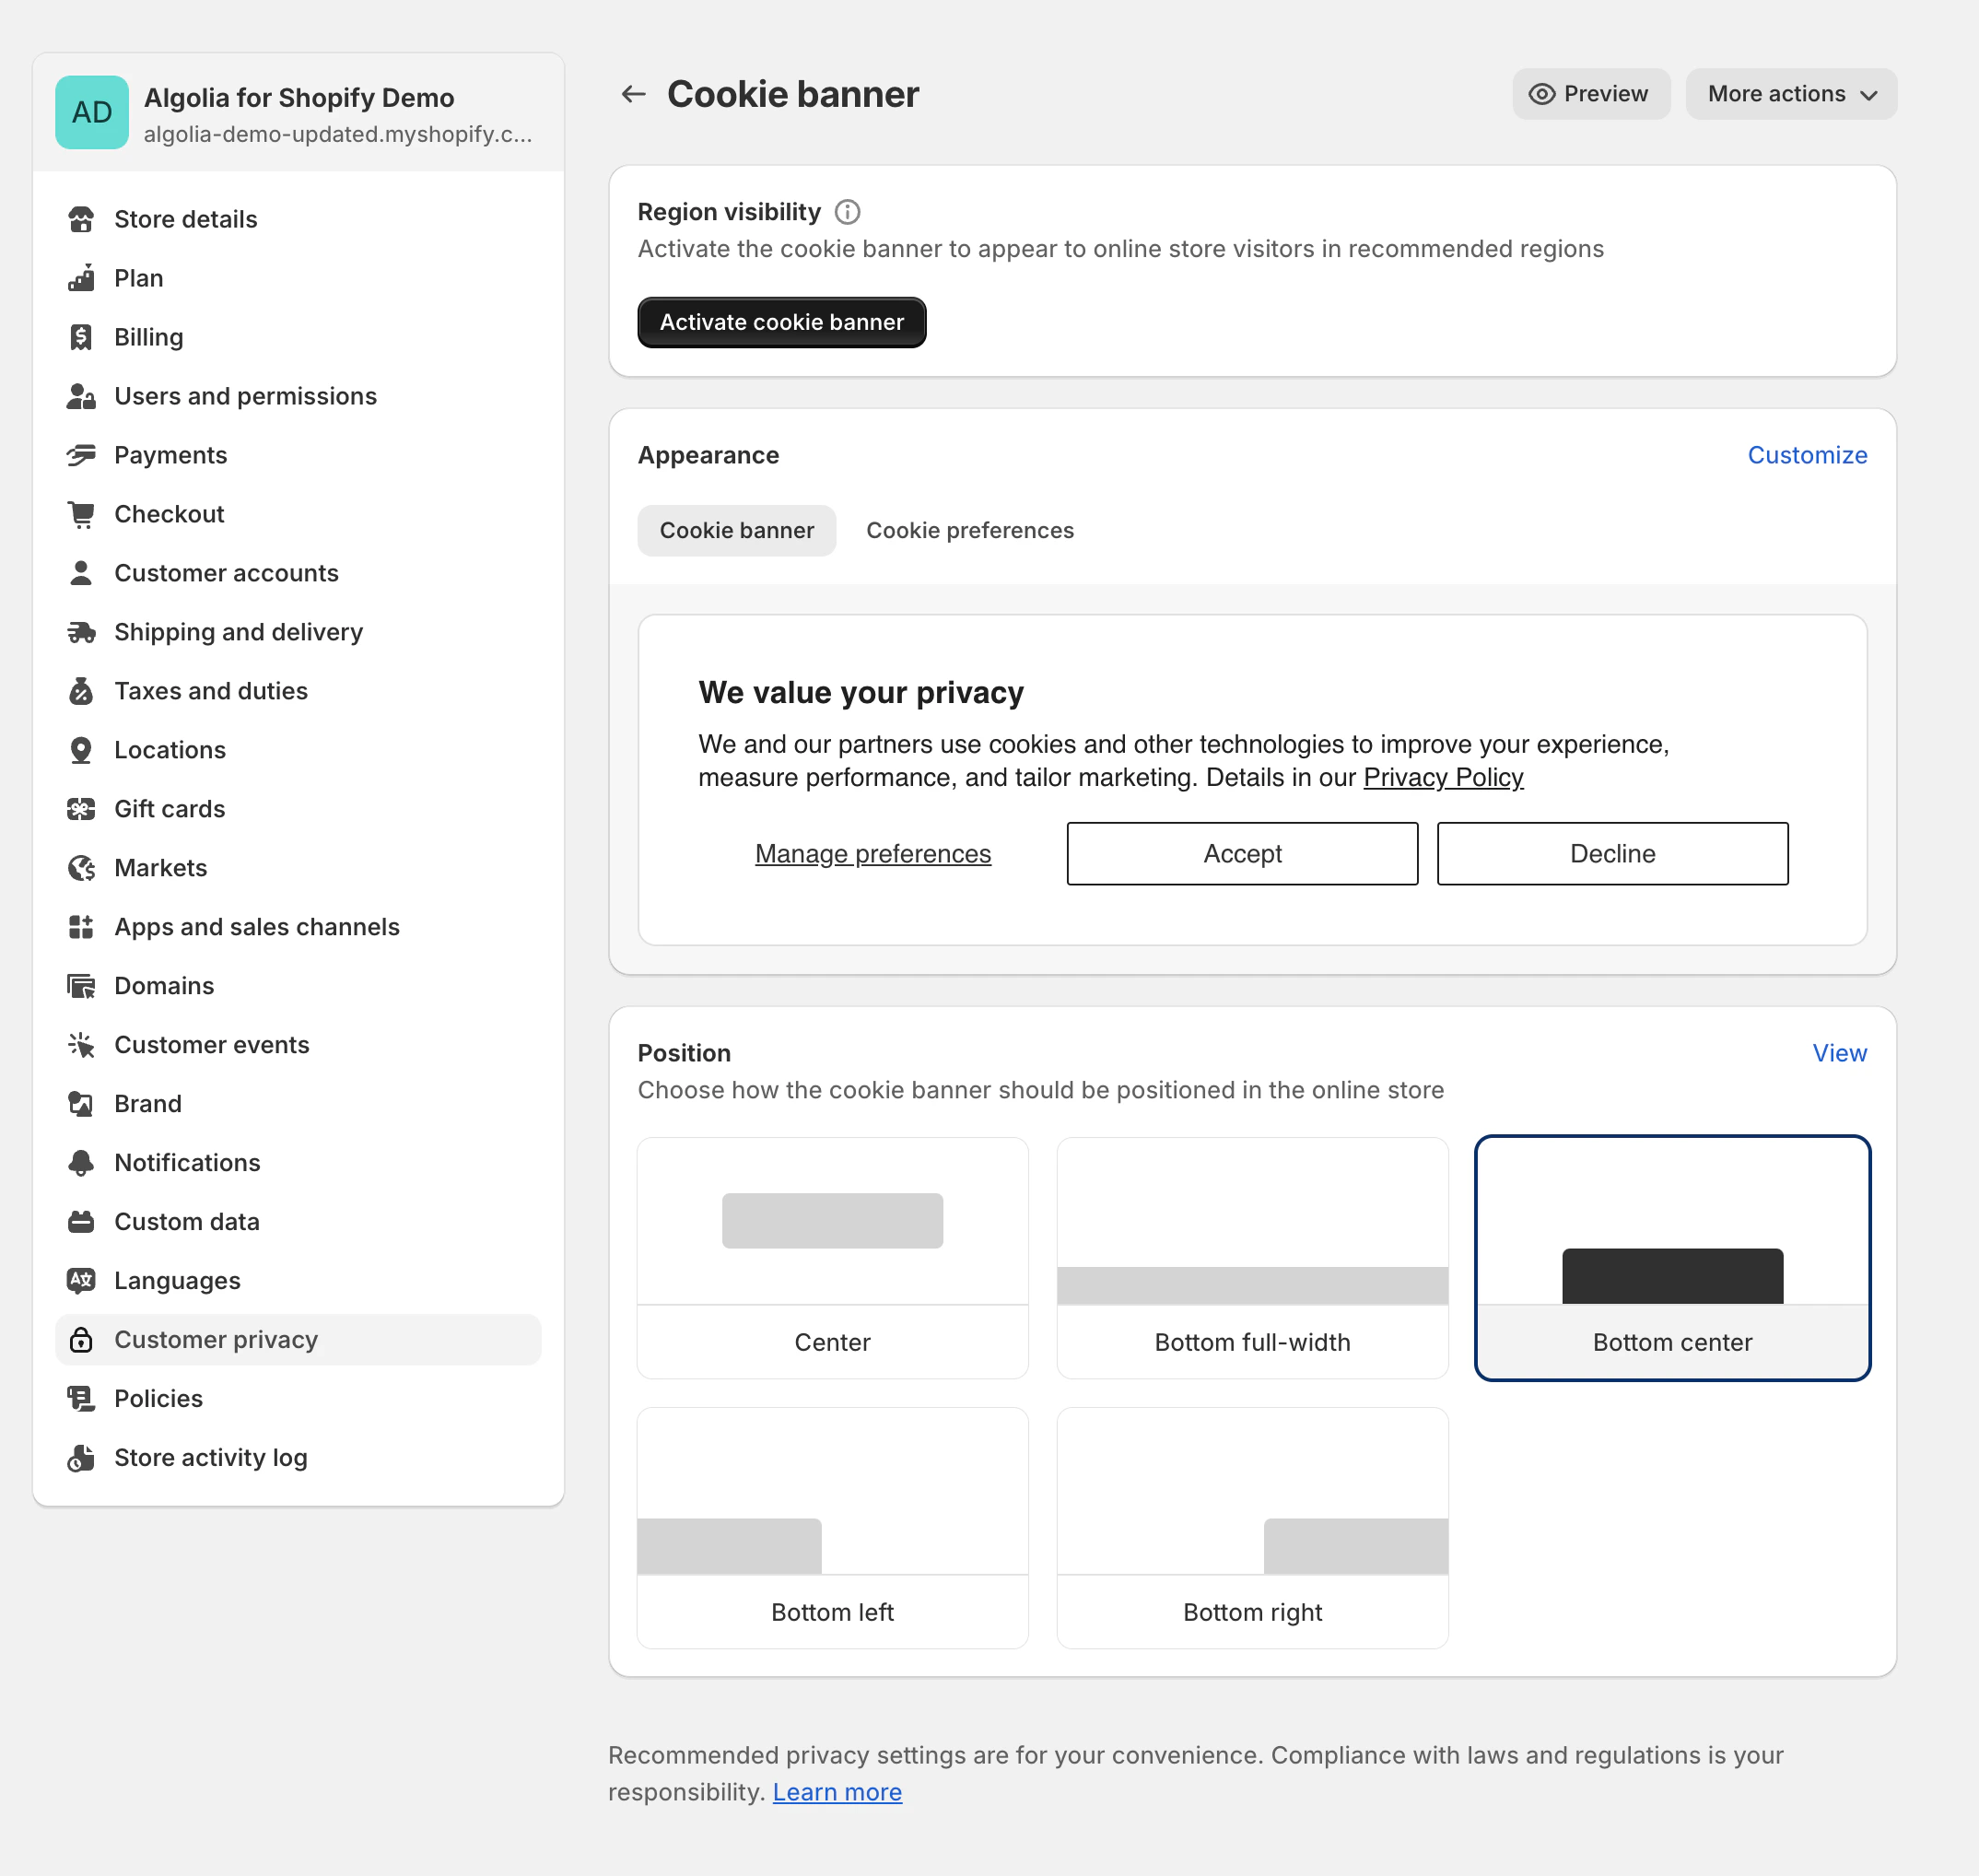
You must use Shopify’s Customer Privacy API or enable Shopify’s Cookie Consent Banner in your Shopify admin settings.
loadFeatures method to check if the user has consented.
User token for Personalization
To personalize your search experience, you need to provide a way to identify user profiles across sessions with a stable user token. For example, you can use the user’s account ID after they signed in to your shop. To add a stable user token, use custom hooks.Send events
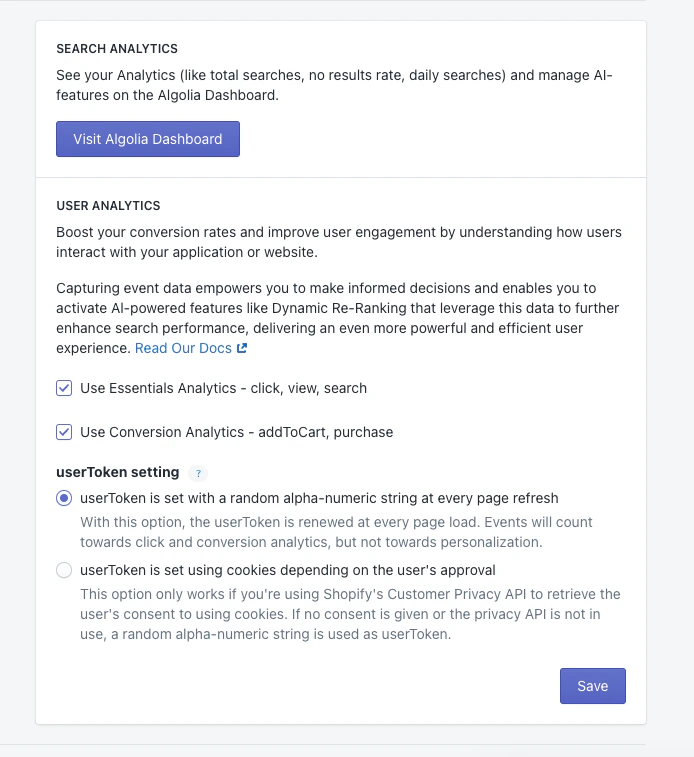
To track user interactions in your Shopify store and send them to Algolia, choose between:- Use Essentials Analytics: automatically send “click”, “view”, and “search” events to Algolia.
- Use Conversion Analytics: using Shopify web pixels, send “addToCart” and “purchase” conversion events to Algolia.
Shopify web pixels
Shopify web pixels are JavaScript snippets that track user interactions and improve your search results. The web pixels collect data about your users’ interactions with your store, such as add-to-cart and purchase events. You can use the data to improve the relevance of your search results and gain insights into your users’ behavior. By default, the Algolia AI Search & Discovery app creates and enables a web pixel to collect event data.- To customize this behavior, see Install a custom web pixel.
- To prevent duplicate events, turn off the default web pixel.
trackSearchAttribution(hit) from your Autocomplete and InstantSearch product templates.
This ensures the web pixel can capture conversion events from items in the browser’s local storage.
For more information, see Custom frontends with Shopify web pixels.
The Shopify web pixel is categorized as “analytics” and “preferences”, according to Shopify’s criteria.
It collects data only if users accept the consent banner.To stop the pixel from collecting data,
in Shopify Admin Settings, turn off Use Conversion Analytics.
Install a Custom Shopify web pixel
- Go to your Shopify admin and click Settings.
-
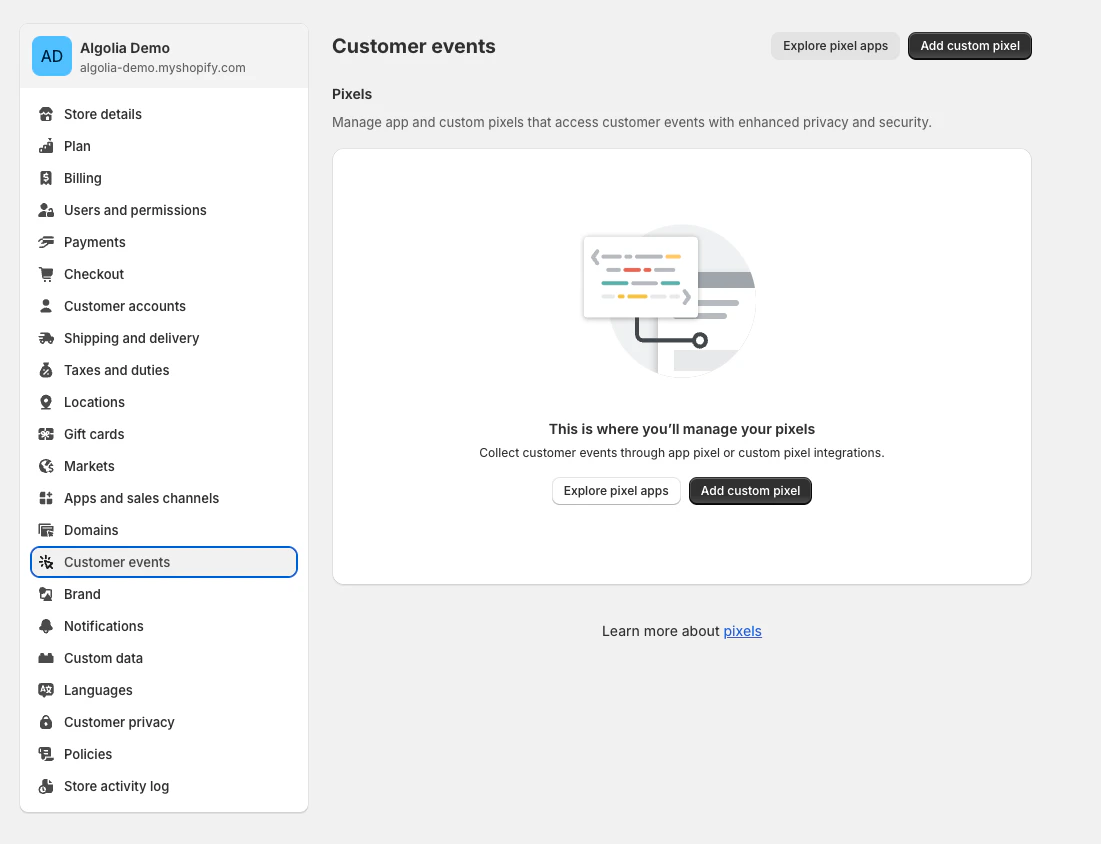
Open the Customer events tab.
-
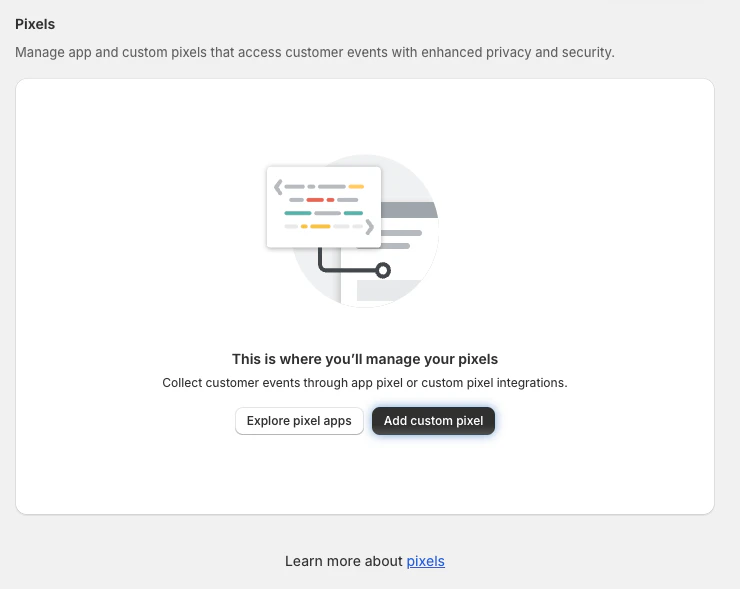
Click Add custom pixel.
-
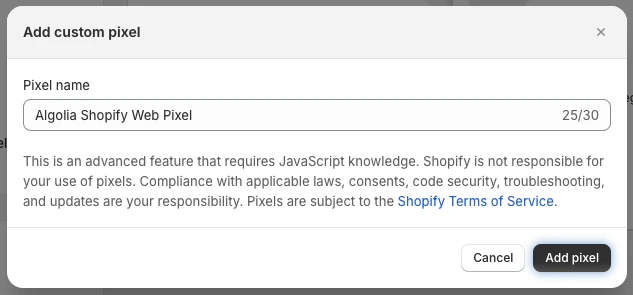
Name your pixel and click Add pixel.
-
Copy the pixel code and paste it into the Algolia web pixels area in the Code section provided by Shopify.
JavaScript
-
Click Save, then Connect.
Your Shopify web pixels are now installed and can start tracking user interactions on your store.
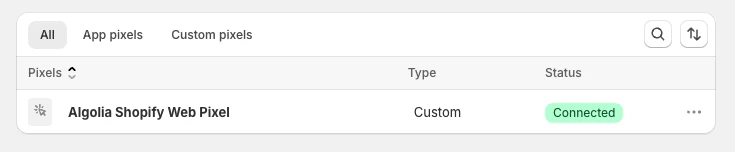
Make sure that your web pixels show Connected in their status.
-
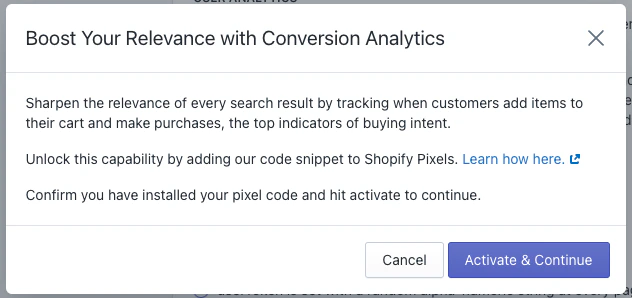
Go back to your Shopify admin and complete the setup by clicking Activate & Continue.
Custom frontends with Shopify web pixels
If you want to use Shopify web pixels with your custom frontend, passquery_id, variant_id, and product_id to the trackSearchAttribution function.
Add the following JavaScript to your custom frontend to call trackSearchAttribution whenever a hit is displayed.
This stores the required attributes in localStorage for conversion tracking.
JavaScript
Configure the web pixel for custom frontends
The web pixel reads its Algolia credentials and Insights options fromlocalStorage.
In your custom frontend, set both keys before the web pixel fires.
You can set them on every page.
Always set them on product pages and any page where users can add items to the cart.
JavaScript
algolia_configis mandatory. It containsapp_id,search_api_key, andindex_name. To set the user token yourself, add auser_tokenproperty. Otherwise, the web pixel generates a random user token.algolia_analytics_optionsis optional. It accepts any Insights clientinitparameter, and the web pixel passes them to the Insights client. SetuseCookietotrueto store the anonymous user token in a cookie, but only after the user consents to cookies.
Web pixel product_added_to_cart flow
This process shows how a Shopify web pixel product_added_to_cart event is sent to Algolia.
- User searches and then clicks a result.
-
The
trackSearchAttributionfunction storesqueryId,variantId, andproductIdin local storage. -
The Shopify web pixel
product_added_to_cartevent is triggered. -
The
trackSearchAttributionfunction is called withquery_id,variant_id, andproduct_id. -
Algolia retrieves the
queryIdby matching thevariantIdandproductIdin local storage. -
Algolia sends attribution data to the :
- If
queryIdis specified, Algolia uses theaddedToCartObjectIDsAfterSearchevent. - If
queryIdisn’t specified, Algolia uses theaddedToCartObjectIDsevent.
- If