Before you begin
Make sure you have the following tools and accounts ready:- An Algolia account. If you don’t have one, create a new account for free.
- Access to Agent Studio.
- Node.js 22.12 or later with npm.
- An API key from your LLM provider to connect your Algolia agent to your large language model:
- Gemini (recommended)
- Azure OpenAI
- OpenAI
- Go to Google AI Studio and sign in with your Google account.
- Click Create API key (or Get API key) and name it.
- For Choose an imported project, click Create project and name it (if you don’t have a project yet).
- Click Create key.
- Copy the API key and store it securely.
Google AI Studio offers a free usage tier for Gemini. However, be aware of the usage limits for the Gemini API on the free tier.
Quickstart
In this quickstart, you’ll use Agent Studio with an LLM to build a conversational assistant that queries a products index, avoids hallucinations, and respects the index’s settings and ranking.1
Create a product catalog index
-
Go to the Algolia dashboard and create a new index. Use
productsas the index name. -
Download the
records.jsonfile. Therecords.jsonfile contains product listing records with attributes such asname,categories,price, andbrand. For example:The conversational assistant app will search and reference these when answering product-related questions.JSON -
Click Upload records > Upload file, and select the
records.jsonfile you downloaded.
2
Add LLM provider credentials
- From Agent Studio’s Settings page, click Create provider profile.
-
Select your preferred provider and enter the appropriate credentials:
- Azure OpenAI: paste in your chosen key value (as API Key) and endpoint URL. Then choose an LLM model and API version.
- Gemini: paste in your Google AI Studio API key.
- OpenAI: paste in your API key and select a region.
3
Create an agent in the Algolia dashboard
- Go to the Algolia dashboard.
- On the left sidebar, select Generative AI > Agent Studio > Agents, then click Create your first agent or Create agent.
- Click Start from scratch.
-
Paste the following into the Instructions box:
-
Click Add tools, choose Algolia Search, and select the
productsindex. To see supported tool types beyond the Search tool, see Tools for Agent Studio. -
For Description, enter
Product catalog, click Save, then Add tool. - Click Change provider and choose the LLM provider you added in step 2.
4
Test and publish the agent
-
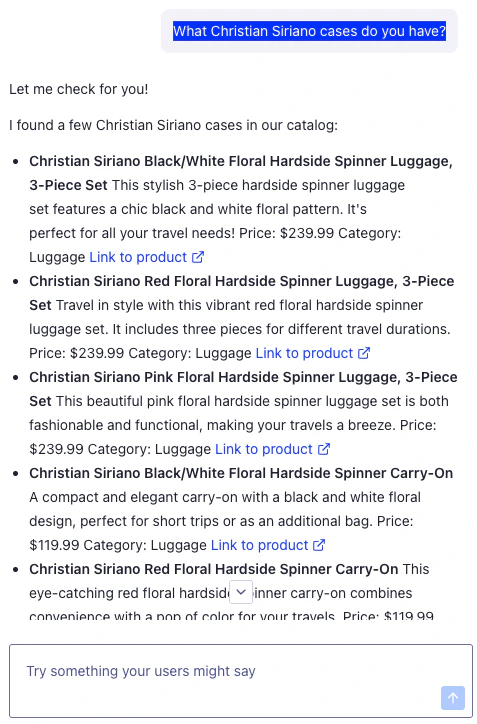
Use the preview panel on the right to test your new agent with a sample query.
For example, if you say “What Christian Siriano cases do you have?”,
you should expect it to list a handful of products.
You can also ask follow-up questions, for example, to filter by price or category.
- After asking a few questions, click Publish.
- Close the confirmation box.
5
Build a conversational assistant app
-
To create a new React app with Vite, enter the following commands in your terminal (on Windows, use PowerShell, not Command Prompt):
If prompted to installCommand line
rolldown-vite, select No. When prompted to Install with npm and start now, select No. -
Install the Markdown package for rendering output:
Command line
-
To create the agent app, replace the code in
src/App.jsxwith:React -
To apply styling to the app, replace
src/App.csswith the following:
CSS
-
Add your environment variables. Create a file called
.env.localat the root of your app (next topackage.json) and paste in the following:Add the following credentials after the appropriate=character:- VITE_ALGOLIA_APPLICATION_ID is your Algolia Application ID, found under API Keys in the dashboard.
- VITE_ALGOLIA_API_KEY is your Search API key from the same page.
- AGENT_ID is your agent ID. Find it on the Agents overview page, click View actions > Copy ID.
6
Run the conversational assistant app
Run the app.Open the local URL http://localhost:5173 in your browser and test the conversational assistant app.
For example, ask “What’s the best compact refrigerator?”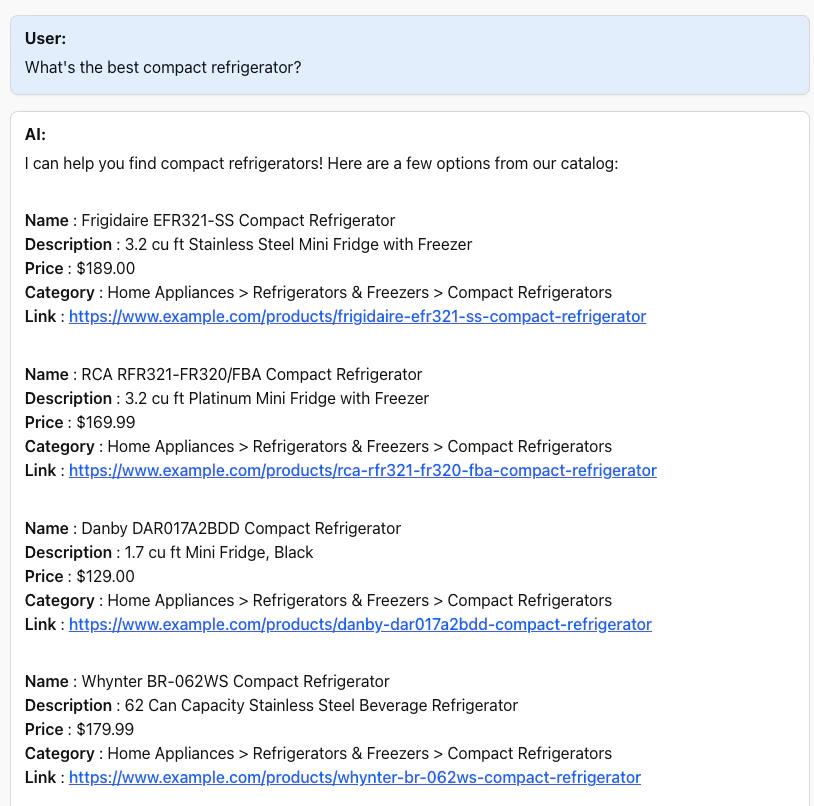
Command line
If your app fails to connect, check that:
- Your agent is published.
- The variables in the
.env.localfile are correct. - You’re using the Algolia Search API key, not something else.
Next steps
To customize this quickstart, change the following:LLM
- Although this guide uses Gemini, OpenAI, and Azure OpenAI, you can also connect any OpenAI-compatible API (for example, one hosting Llama or Mistral).
- Tweak the agent’s prompt, that you added in step 3, to ensure meaningful output.
Data
- Instead of the Algolia sample data, use your own data and send it to an Algolia index.