To connect BigCommerce and Algolia,
you need owner access to a BigCommerce store and administrator access to an Algolia application on the Build or Elevate plan.You can connect each BigCommerce store to one Algolia application.Stores with headless storefronts, such as BigCommerce Catalyst,
can use the Algolia for BigCommerce app for indexing.
The app’s search settings only work with Stencil-based storefront channels.
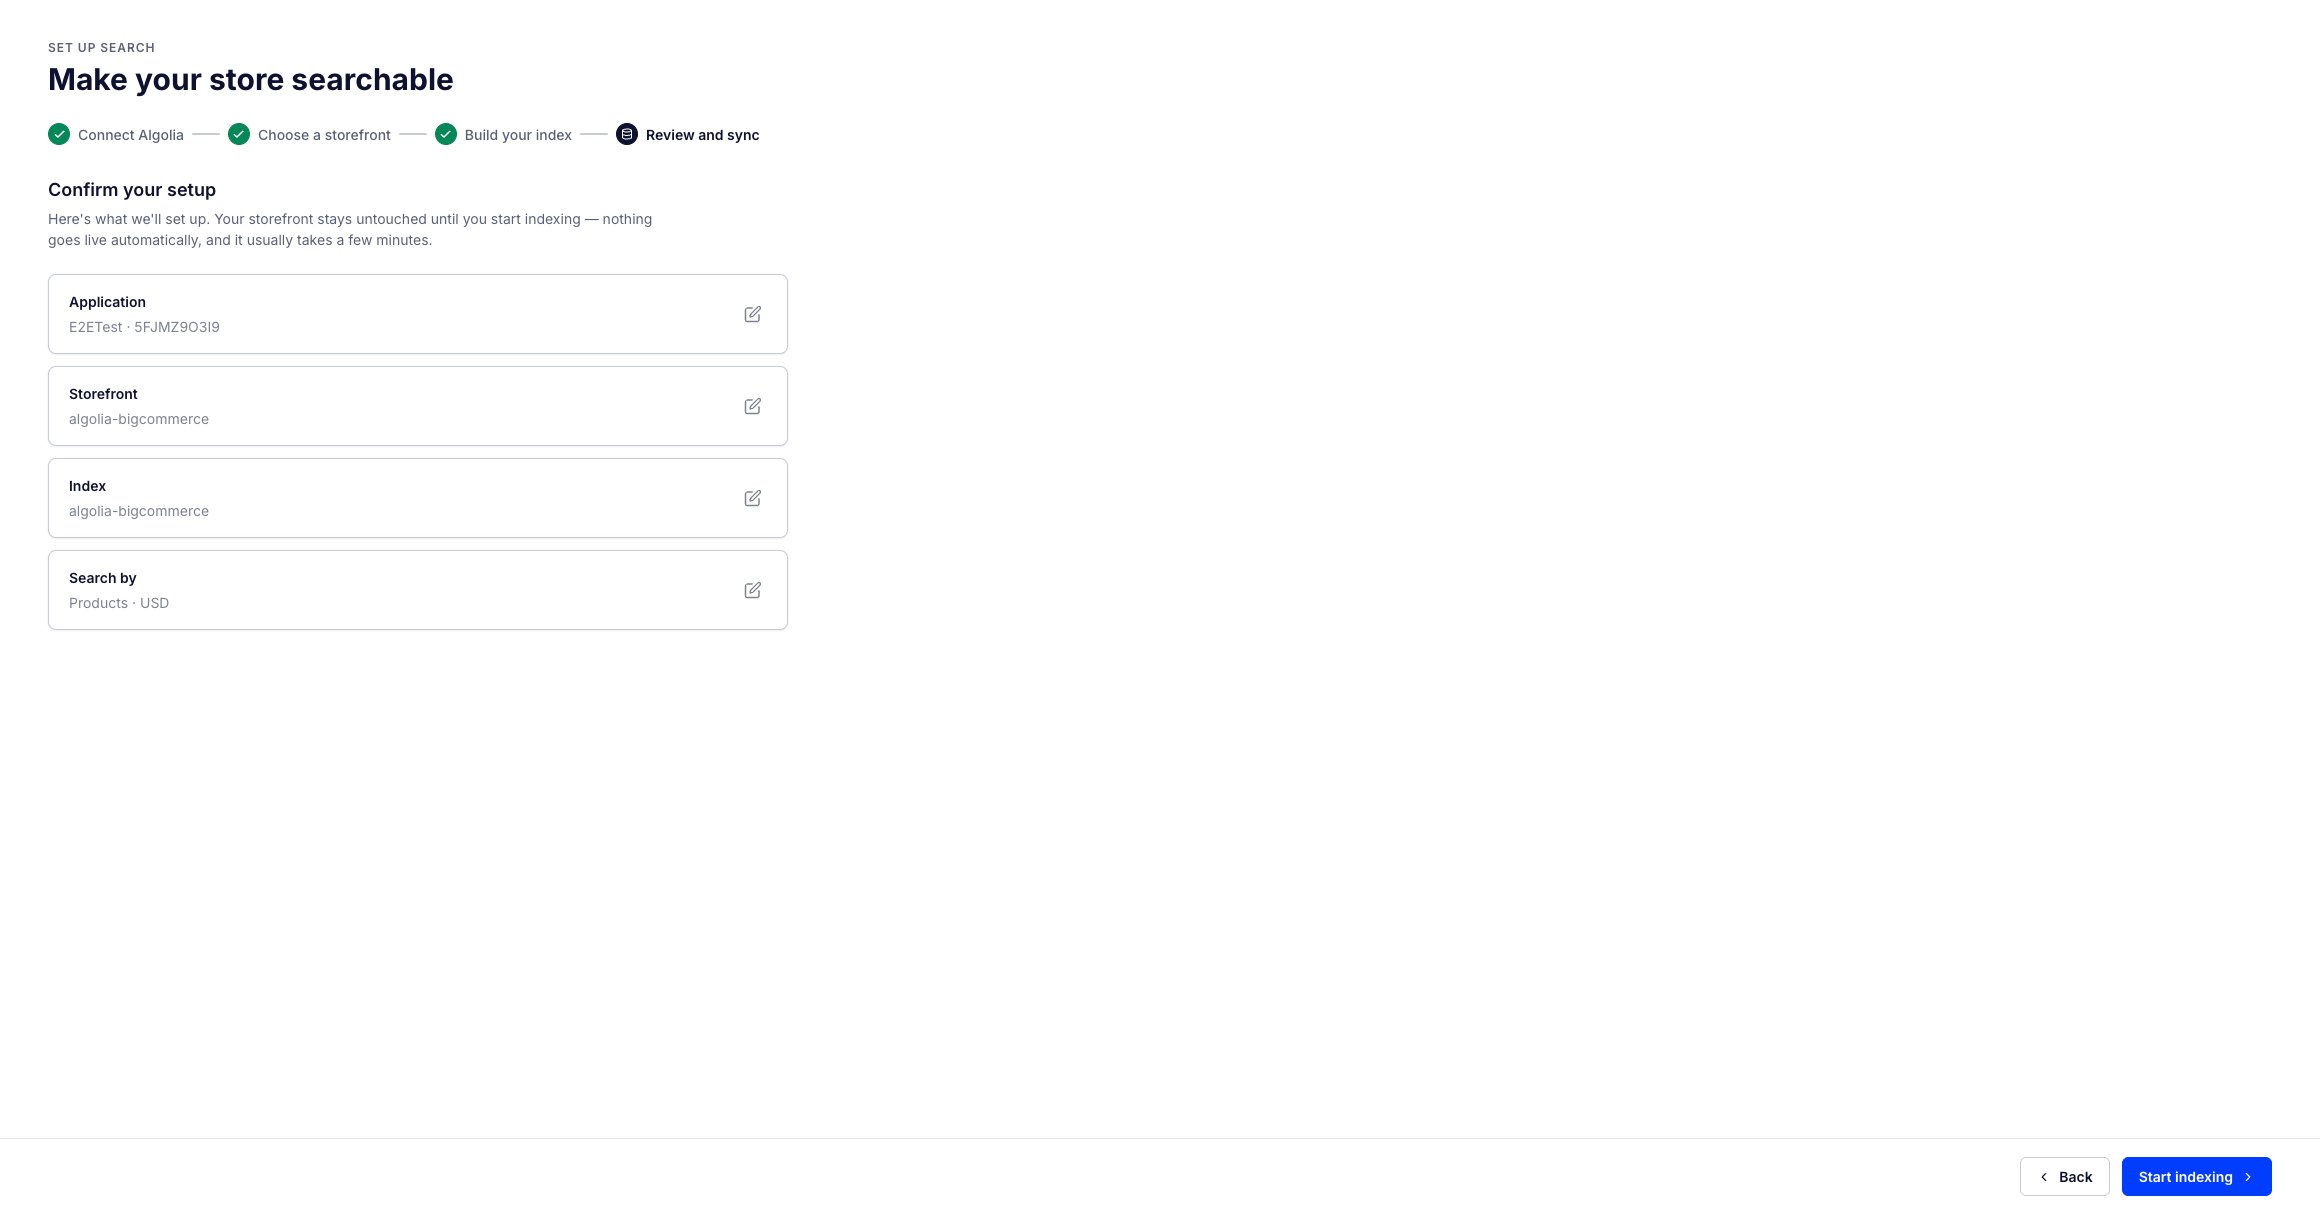
The app guides you through a four-step setup: connect your Algolia application, choose a storefront, build your index, and review and sync.
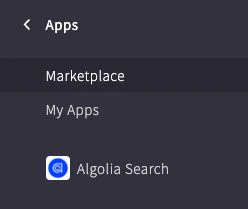
Select the Algolia Search app from the app list in the sidebar.
Select Confirm on the permissions prompt.
Select Sign in with Algolia.
In the dialog, enter your Algolia credentials if you’re not already signed in.
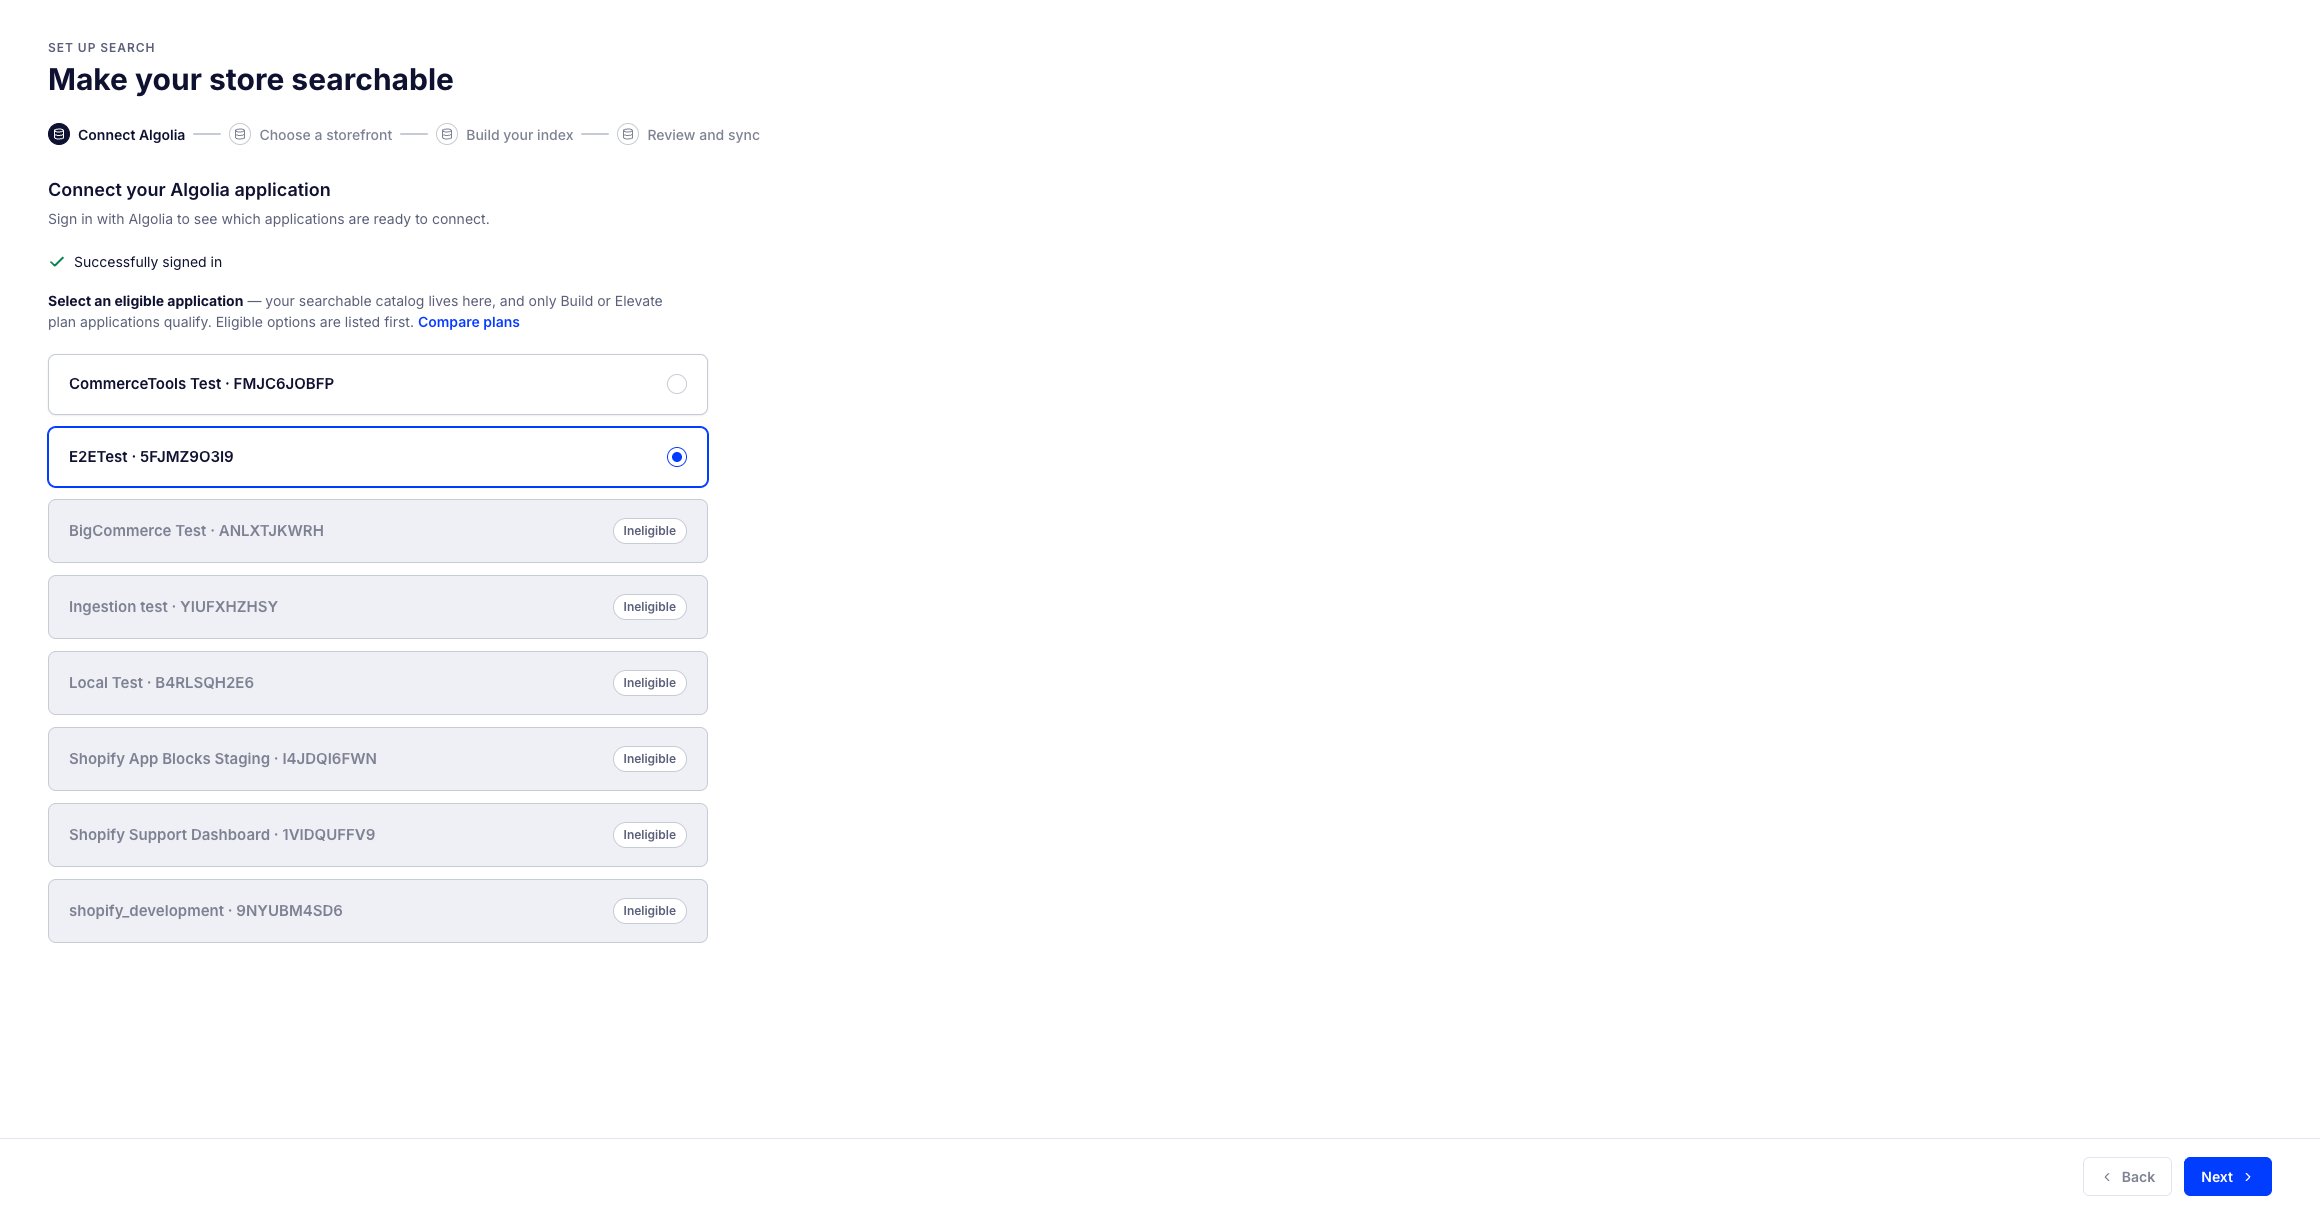
Select the Algolia application you want to connect to your BigCommerce store, then select Next.
Only applications on a Build or Elevate plan are eligible.
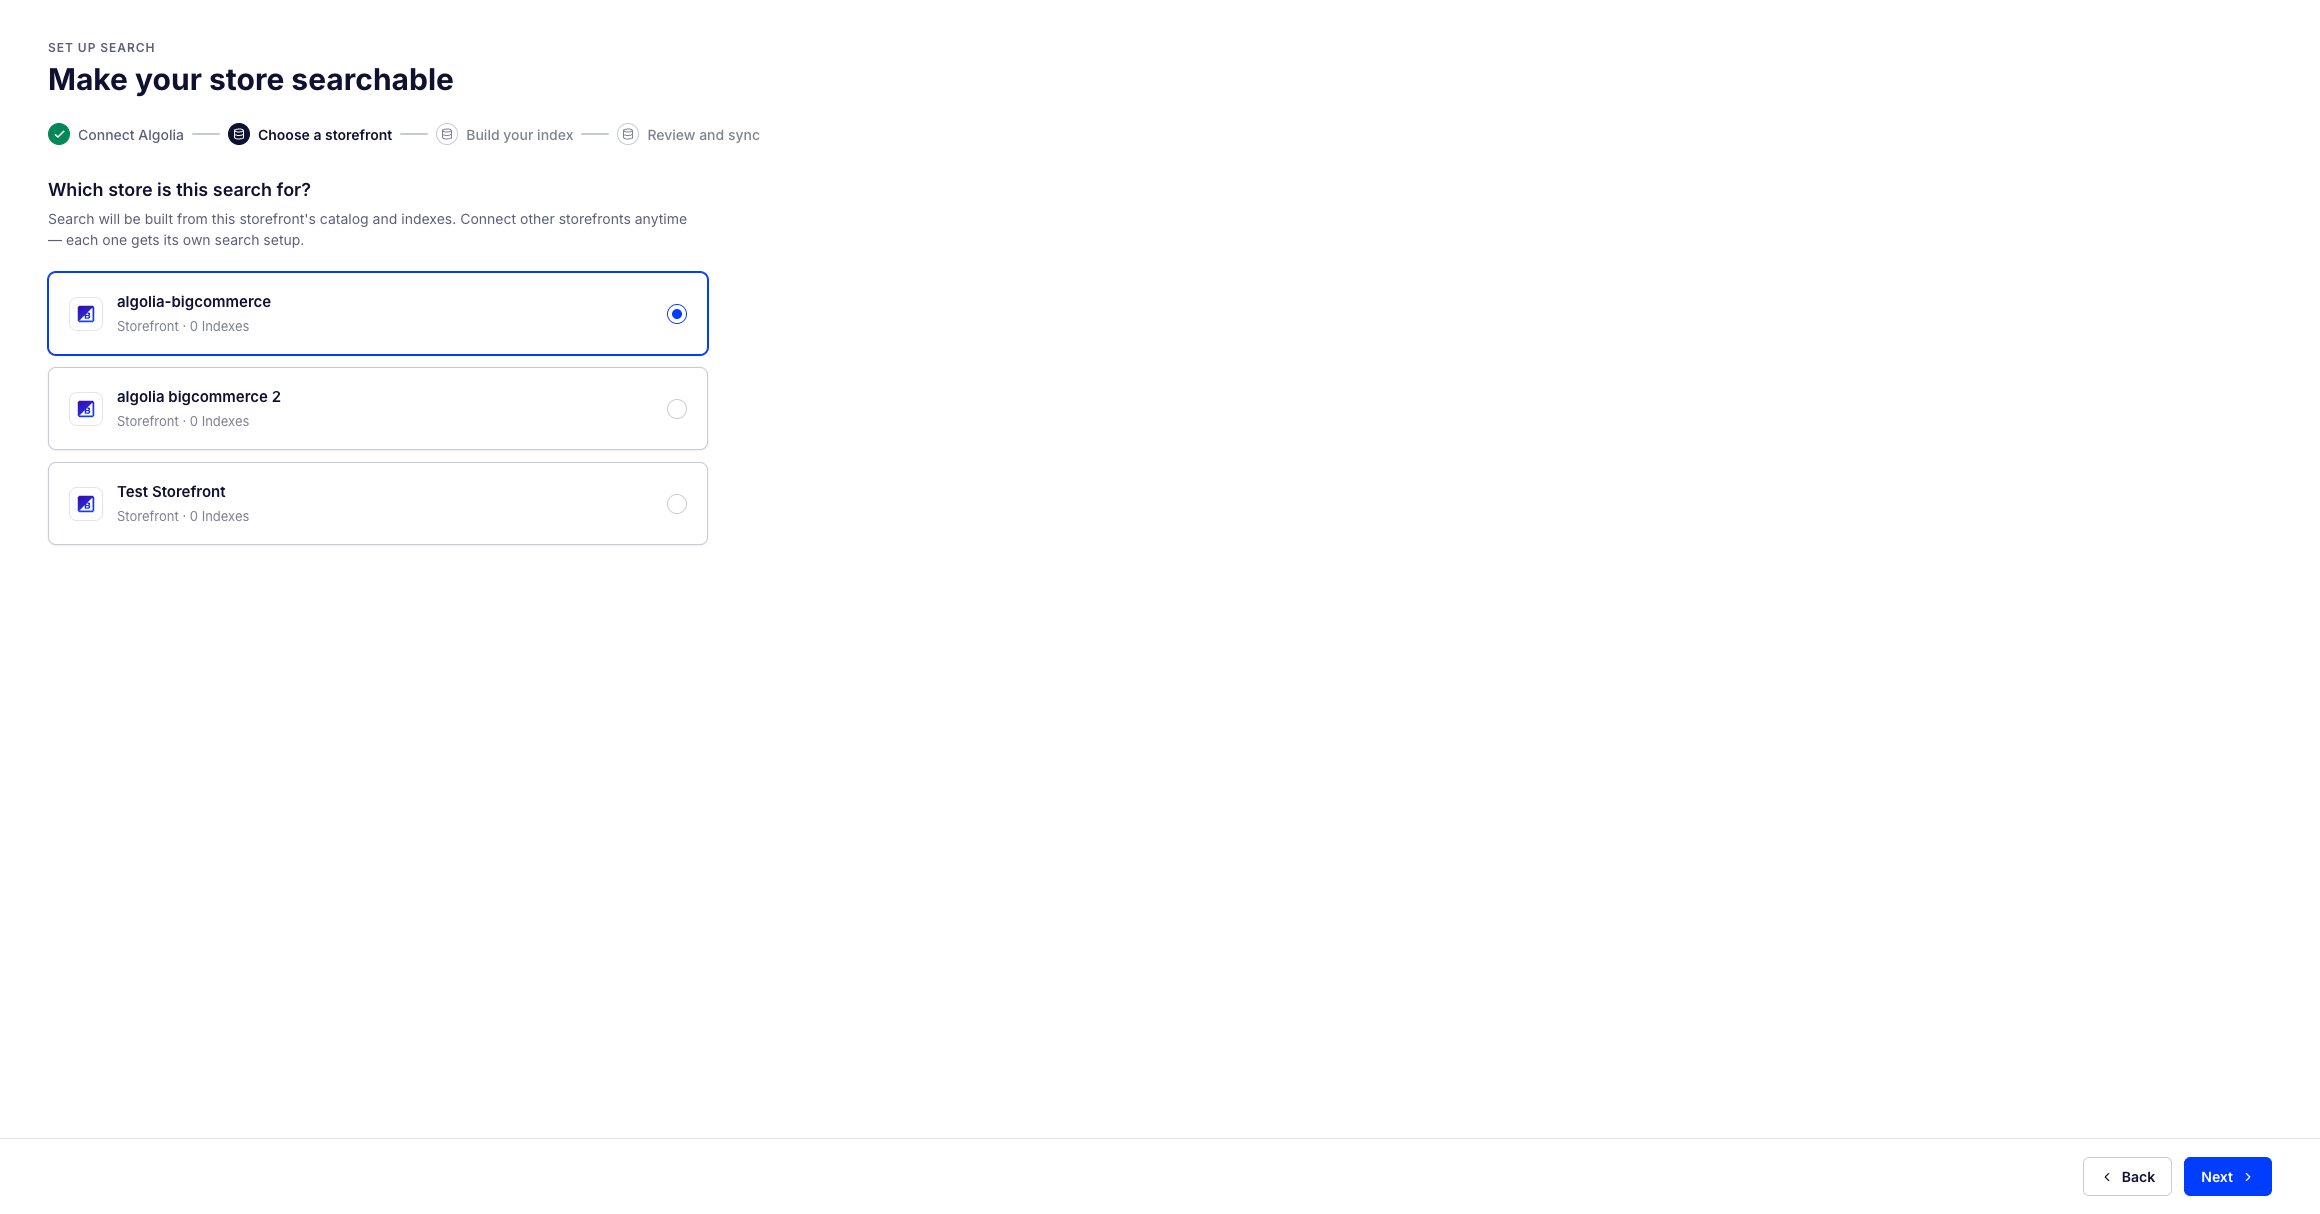
Select the storefront you want to connect, then select Next.
Search is built from this storefront’s catalog. You can connect other storefronts later, and each one gets its own search setup.
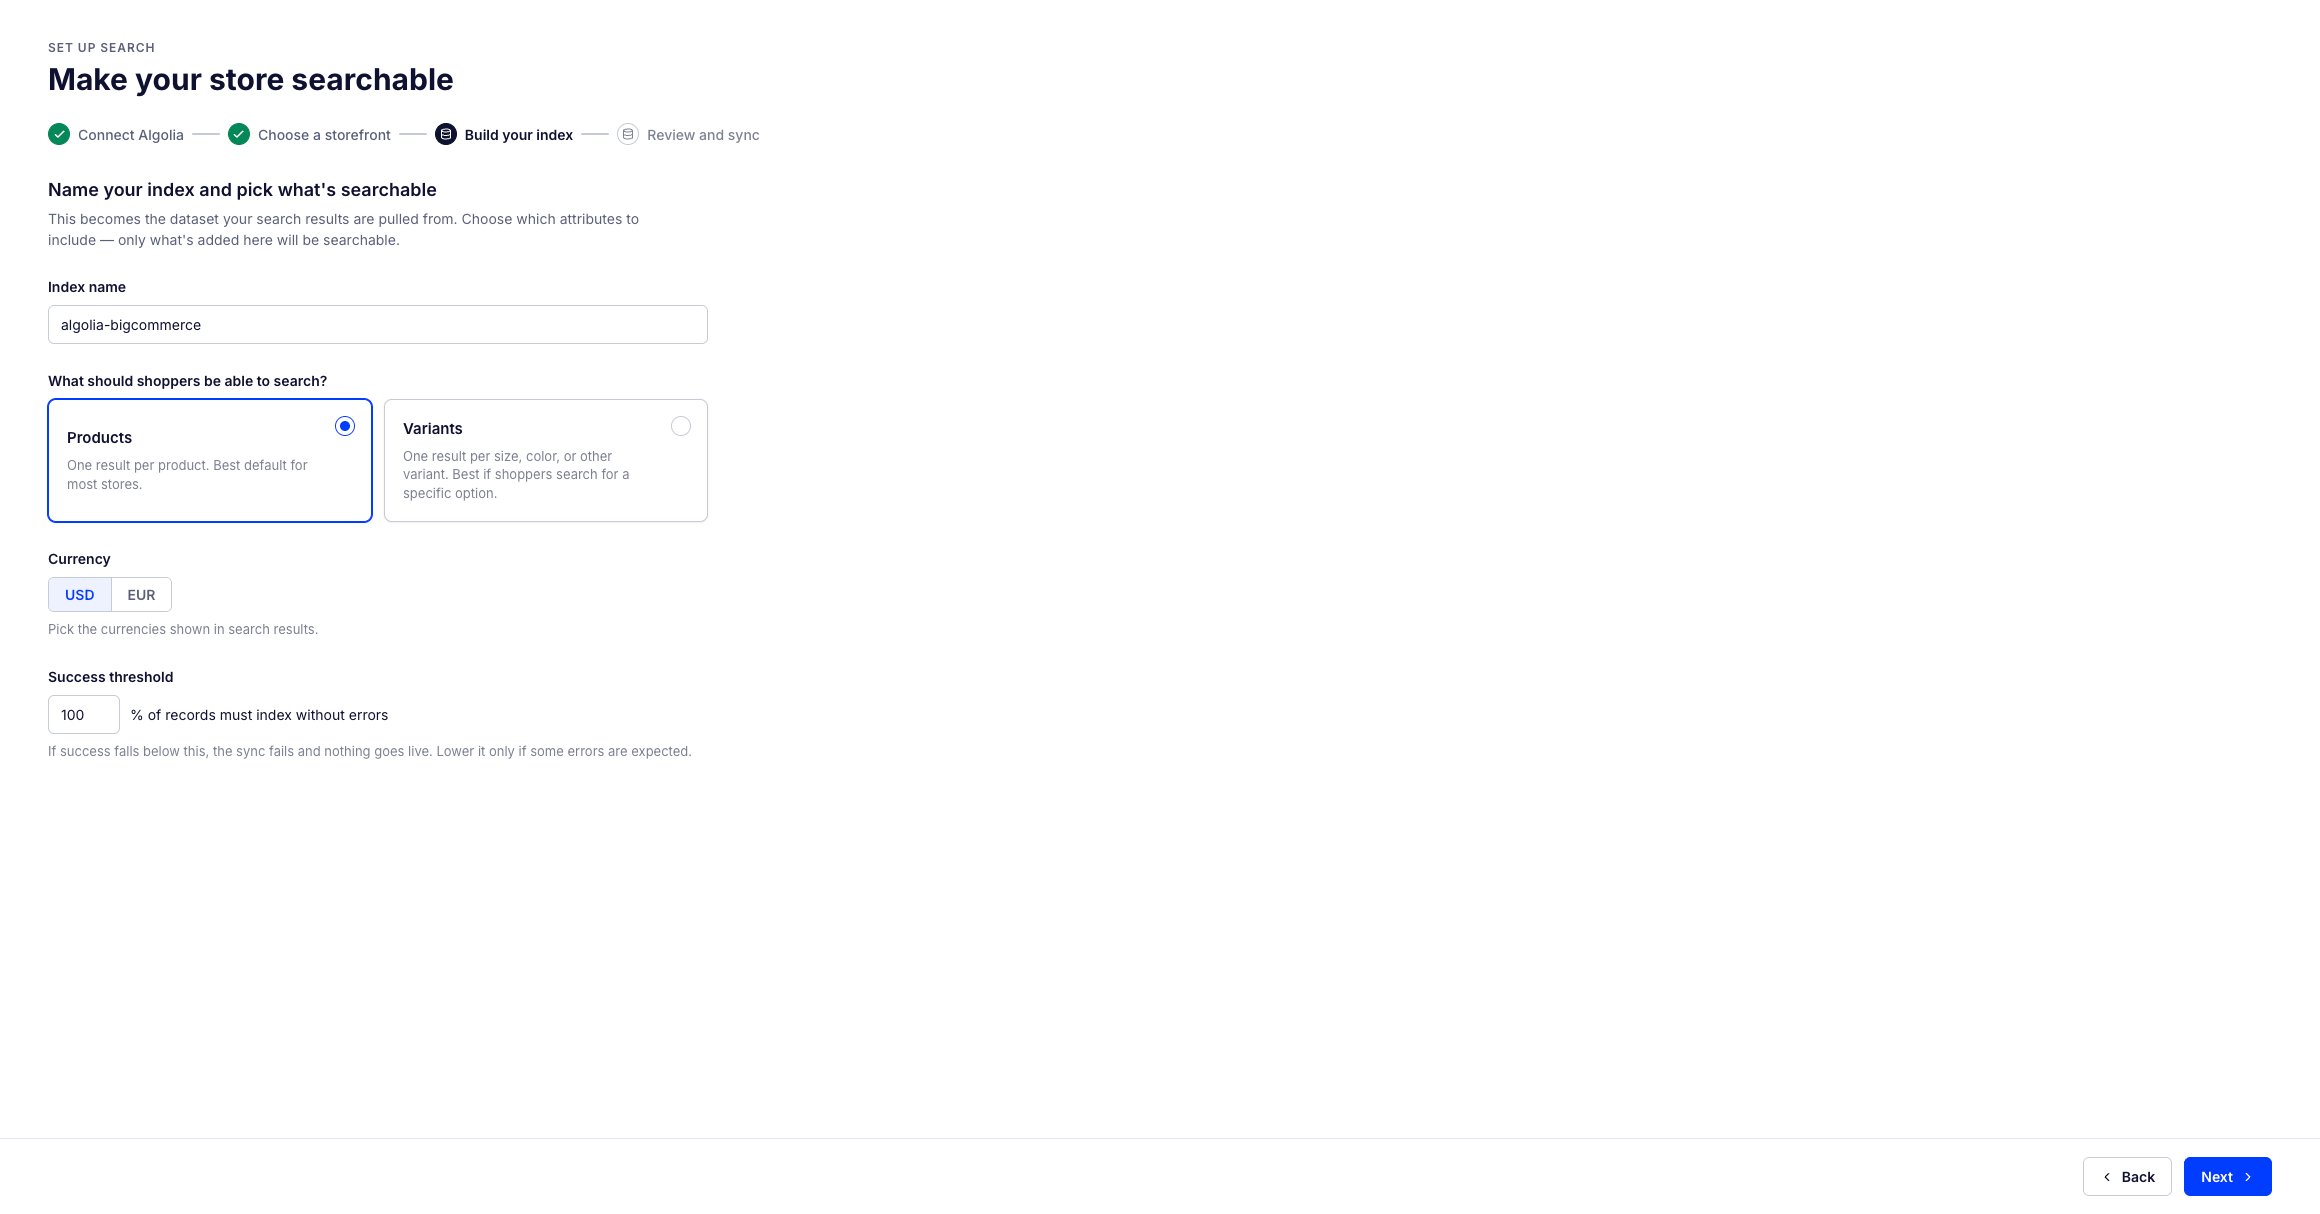
Name the index and choose what shoppers can search:
Products. One result per product: each product has a record assigned to it.
Variants. One result per size, color, or other product variant: each variant has a record assigned to it.
After you create the index, you can’t change this choice.
To use a different one, delete the index and create a new one.
Select one or more currencies to show in search results.
Enter a success threshold in percent to indicate how many products must index without errors for a successful sync, then select Next.
Review your setup and select Start indexing.
Nothing goes live on your storefront automatically, and indexing usually takes a few minutes.